No edit summary Tag: sourceedit |
(→Trivia: I guess this one is ok.) |
||
| (35 intermediate revisions by 18 users not shown) | |||
| Line 8: | Line 8: | ||
|quests = [[Lost to the Ages]] |
|quests = [[Lost to the Ages]] |
||
|characters = [[Katria]] |
|characters = [[Katria]] |
||
| − | |enemies = [[Falmer]], [[Dwarven Automaton]]s |
+ | |enemies = [[Falmer (Skyrim)|Falmer]], [[Dwarven Automaton]]s |
|LocationID = DLC1Arkngthamz01<br />DLC1ArkngthamzExterior01<br />DLC1ArkngthamzExterior02 |
|LocationID = DLC1Arkngthamz01<br />DLC1ArkngthamzExterior01<br />DLC1ArkngthamzExterior02 |
||
| + | }} |
||
| − | + | {{Confuse|Arkngthand}} |
|
'''Arkngthamz''' is a [[Locations (Dawnguard)|location]] in {{Dawnguard}}. It is a [[Dwemer Ruins (Skyrim)|Dwemer Ruin]] located deep within the [[Jerall Mountains]]. |
'''Arkngthamz''' is a [[Locations (Dawnguard)|location]] in {{Dawnguard}}. It is a [[Dwemer Ruins (Skyrim)|Dwemer Ruin]] located deep within the [[Jerall Mountains]]. |
||
| Line 18: | Line 19: | ||
Katria tells of how she died while attempting to find the lost forge. The Dragonborn can opt to enlist Katria's help while delving through the ruins, which experience periodical earthquakes causing bits of the ruins to fall apart, while plenty of Falmer jump out of their holes in the canyon walls. |
Katria tells of how she died while attempting to find the lost forge. The Dragonborn can opt to enlist Katria's help while delving through the ruins, which experience periodical earthquakes causing bits of the ruins to fall apart, while plenty of Falmer jump out of their holes in the canyon walls. |
||
| − | Katria will remark that a there is a chest behind a sealed gate. |
+ | Katria will remark that a there is a chest behind a sealed gate. From the gate, go west and jump down the series of ledges until arriving at a stream. Going upstream eventually leads to the chest and a lever that opens the gate. Along the main path, there is a larger stream. All the way upstream, there is a large pool of water, by the waterfalls. Dive about halfway down to find a cave. Follow this underwater cave to the end to find a chest, weapon, and shield. |
| − | As they make it near the bottom of the ruins, Katria points out her lost bow ([[Zephyr]] |
+ | As they make it near the bottom of the ruins, Katria points out her lost bow ([[Zephyr]], which has 30% faster shooting speed), which will be needed to complete the puzzle later on if one does not have a bow on hand. Finally reaching the bottom, one finds a set of three locked doors with a large Dwemer head and five [[tonal resonator]]s above the three doors. There are five tonal resonators which must be hit in the correct order in order to open the doors. If hit in the improper sequence, traps will trigger which include explosive arrows, Dwarven spheres, Dwarven spiders, as well as a centurion. The resonators are arranged in two rows; three on bottom, two on top. The correct order is bottom left, bottom right, top left, top right, bottom middle. After the doors open, the player can enter the treasure room that contains the first of four [[Aetherium]] keys used to activate the lost Dwemer forge. |
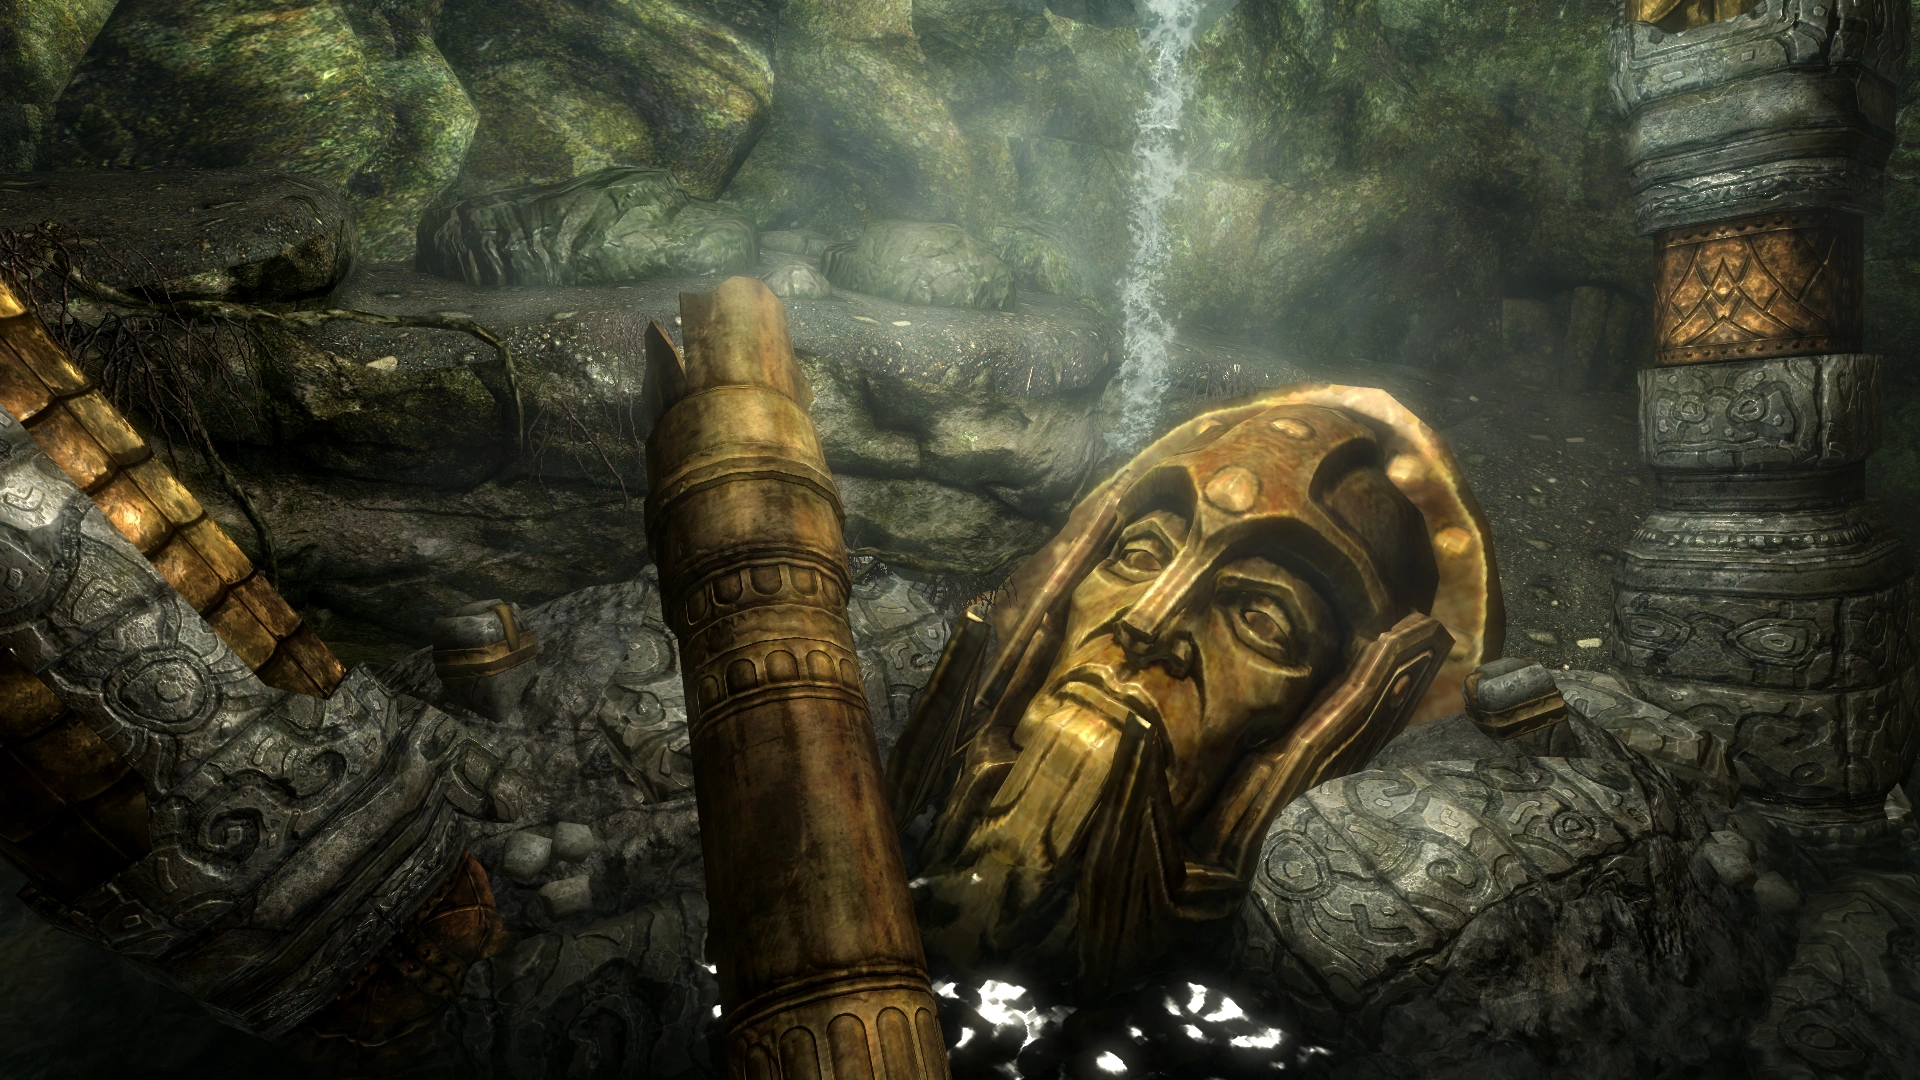
[[File:FallenDwemerBust.png|200px|thumb|A fallen Dwemer bust in Arkngthamz]] |
[[File:FallenDwemerBust.png|200px|thumb|A fallen Dwemer bust in Arkngthamz]] |
||
The location of the other three Aetherium pieces are clearly marked in Katria's notebook, which can be found on her body at the entrance of Arkngthamz where she first appears. |
The location of the other three Aetherium pieces are clearly marked in Katria's notebook, which can be found on her body at the entrance of Arkngthamz where she first appears. |
||
| − | |||
| − | Once all four pieces have been assembled, the Dragonborn can use them to gain entrance to the Aetherium forge. At the bottom, in the forge room, one must fight 15-20 dwarven spiders, dwarven spheres, and [[The Forgemaster (Dawnguard)|the Forgemaster]], a leveled Dwemer Centurion that expels fire rather than steam. Completing the quest allows the Dragonborn to choose from one of three unique Aetherium items. |
||
==Quests== |
==Quests== |
||
===[[Lost to the Ages]]=== |
===[[Lost to the Ages]]=== |
||
| − | The |
+ | The Dragonborn embarks on an investigation with Katria to learn of an ancient [[Dwemer]] secret and to search for four pieces of solid Aetherium. Arkngthamz is the first of four ruins that contain an [[Aetherium Shard]], which is needed to gain access to the Aetherium Forge, and to craft one of three unique Aetherium items. |
==Notable items== |
==Notable items== |
||
| − | * |
+ | *5x [[Centurion Dynamo Core]] |
*[[Aetherium Shard]] |
*[[Aetherium Shard]] |
||
*[[Zephyr]] |
*[[Zephyr]] |
||
| + | *[[Ebony Ore (Skyrim)|Ebony ore vein]] – on the right wall of tonal resonator room, at base of a ledge. |
||
| − | *Several [[glowing mushroom]]s |
||
| − | *[[ |
+ | *[[Quicksilver Ore (Skyrim)|Quicksilver ore vein]] – on a ledge above the ebony ore vein, along with a dwarven chest that cannot be opened. |
| + | *[[Katria's Journal]] |
||
| − | *[[Quicksilver Ore (Skyrim)|Quicksilver ore vein]] - on a ledge above the ebony ore vein, along with an unopenable dwarven chest. |
||
| + | *[[Scrap of Paper]] |
||
==Trivia== |
==Trivia== |
||
| + | *This dungeon is not clearable, so it will not be marked or tagged as "Cleared" on the map. However, nothing respawns inside, so items can safely be stored in containers inside the ruins. |
||
| − | *Outside of Arkngthamz, the Dragonborn may experience small tremors. That's because Katria got the combination of the tonal resonators wrong thus causing an earthquake. |
||
| + | *Things such as pushed or dead [[Falmer (Skyrim)|falmer]] that fall off the high ledges can land in one of several streams running through the area. As these objects float in the current, the Dragonborn may need to look significantly downstream from where they fell to recover or loot them. The Dragonborn should also take care in these retrievals as these currents are considerably stronger than in most places. Along with waterfalls, these currents can lead to an exciting and potentially dangerous bodysurfing adventure. |
||
| + | *If over-encumbered, it is not possible to utilize the quick way back to the exit. The current will carry the Dragonborn into a nook where it is impossible to escape. One must backtrack through the dungeon, or leave items behind. |
||
==Appearances== |
==Appearances== |
||
Revision as of 10:13, 8 June 2019
- Not to be confused with Arkngthand.
Arkngthamz is a location in The Elder Scrolls V: Dawnguard. It is a Dwemer Ruin located deep within the Jerall Mountains.
Overview
Shortly after entering the ruins, one hears the voice of the deceased explorer Katria telling the Dragonborn to turn back. As they cross a gap on the side of a fallen pillar, Katria appears and explains that she had been pursuing a Dwemer Aetherium Forge that was capable of making such powerful weapons that it drove the Dwemer into civil war.
Katria tells of how she died while attempting to find the lost forge. The Dragonborn can opt to enlist Katria's help while delving through the ruins, which experience periodical earthquakes causing bits of the ruins to fall apart, while plenty of Falmer jump out of their holes in the canyon walls.
Katria will remark that a there is a chest behind a sealed gate. From the gate, go west and jump down the series of ledges until arriving at a stream. Going upstream eventually leads to the chest and a lever that opens the gate. Along the main path, there is a larger stream. All the way upstream, there is a large pool of water, by the waterfalls. Dive about halfway down to find a cave. Follow this underwater cave to the end to find a chest, weapon, and shield.
As they make it near the bottom of the ruins, Katria points out her lost bow (Zephyr, which has 30% faster shooting speed), which will be needed to complete the puzzle later on if one does not have a bow on hand. Finally reaching the bottom, one finds a set of three locked doors with a large Dwemer head and five tonal resonators above the three doors. There are five tonal resonators which must be hit in the correct order in order to open the doors. If hit in the improper sequence, traps will trigger which include explosive arrows, Dwarven spheres, Dwarven spiders, as well as a centurion. The resonators are arranged in two rows; three on bottom, two on top. The correct order is bottom left, bottom right, top left, top right, bottom middle. After the doors open, the player can enter the treasure room that contains the first of four Aetherium keys used to activate the lost Dwemer forge.
A fallen Dwemer bust in Arkngthamz
The location of the other three Aetherium pieces are clearly marked in Katria's notebook, which can be found on her body at the entrance of Arkngthamz where she first appears.
Quests
Lost to the Ages
The Dragonborn embarks on an investigation with Katria to learn of an ancient Dwemer secret and to search for four pieces of solid Aetherium. Arkngthamz is the first of four ruins that contain an Aetherium Shard, which is needed to gain access to the Aetherium Forge, and to craft one of three unique Aetherium items.
Notable items
- 5x Centurion Dynamo Core
- Aetherium Shard
- Zephyr
- Ebony ore vein – on the right wall of tonal resonator room, at base of a ledge.
- Quicksilver ore vein – on a ledge above the ebony ore vein, along with a dwarven chest that cannot be opened.
- Katria's Journal
- Scrap of Paper
Trivia
- This dungeon is not clearable, so it will not be marked or tagged as "Cleared" on the map. However, nothing respawns inside, so items can safely be stored in containers inside the ruins.
- Things such as pushed or dead falmer that fall off the high ledges can land in one of several streams running through the area. As these objects float in the current, the Dragonborn may need to look significantly downstream from where they fell to recover or loot them. The Dragonborn should also take care in these retrievals as these currents are considerably stronger than in most places. Along with waterfalls, these currents can lead to an exciting and potentially dangerous bodysurfing adventure.
- If over-encumbered, it is not possible to utilize the quick way back to the exit. The current will carry the Dragonborn into a nook where it is impossible to escape. One must backtrack through the dungeon, or leave items behind.