No edit summary Tag: apiedit |
mNo edit summary Tag: sourceedit |
||
| Line 165: | Line 165: | ||
**This can be fixed by opening the console, clicking on Miraak and using the command <code>resethealth</code>. It will make him mortal again. This can be repeated if he is stuck on his second or third soul consumption. |
**This can be fixed by opening the console, clicking on Miraak and using the command <code>resethealth</code>. It will make him mortal again. This can be repeated if he is stuck on his second or third soul consumption. |
||
**This problem can also be solved by not reducing Miraak's health to zero, which can be achieved by hitting him with non-power attacks and making sure he has about 20% of his health left when he begins his shout. |
**This problem can also be solved by not reducing Miraak's health to zero, which can be achieved by hitting him with non-power attacks and making sure he has about 20% of his health left when he begins his shout. |
||
| − | ** |
+ | **{{PS3}} This can be fixed by killing all the remaining dragons, and then going into sneak mode until the combat ends. Afterwards, go behind Miraak and attack him, and the battle should resume as normal. |
**{{PS4|Fix}} Killing all three present dragons before Miraak absorbs any dragon souls and slowly making damage to his health without power or staggering attacks (e.g. using [[Flames]] or Iron arrows and [[Hunting Bow]]) will make Hermaeus Mora appear normally when Miraak's health is low. |
**{{PS4|Fix}} Killing all three present dragons before Miraak absorbs any dragon souls and slowly making damage to his health without power or staggering attacks (e.g. using [[Flames]] or Iron arrows and [[Hunting Bow]]) will make Hermaeus Mora appear normally when Miraak's health is low. |
||
*{{PC}} After Miraak absorbs the three dragons' souls, it is possible that he will not be killed by Hermaeus Mora. Mora's dialogue in the center pool will occur, but he will never appear, making it impossible to complete the quest. |
*{{PC}} After Miraak absorbs the three dragons' souls, it is possible that he will not be killed by Hermaeus Mora. Mora's dialogue in the center pool will occur, but he will never appear, making it impossible to complete the quest. |
||
Revision as of 14:07, 14 May 2017
At the Summit of Apocrypha is the final quest for The Elder Scrolls V: Dragonborn. In order for the Dragonborn to gain the final word of power of the Bend Will shout, Storn Crag-Strider sacrifices himself to Hermaeus Mora, and surrenders the ancient knowledge that the Skaal have withheld for so long. By journeying back to Apocrypha and defeating Miraak, peace will be restored to the island of Solstheim.
Background
Hermaeus Mora taught me the final Word of Power of the Bend Will killing Storn in the process. I now have what I need to return to Apocrypha and face Miraak.
Walkthrough
The first step in the quest is to unlock the last two words of the Bend Will shout.
Chapter I & II
Reading Waking Dreams (which can be taken back from Storn's body) will transport the Dragonborn to Apocrypha. Just south of the starting platform is a table with a few books including Bone, Book I. Just northwest of the starting platform there is a table with a soul gem. To the northeast of the starting platform is a pod containing Leveled loot and other books. Then look directly to the west and find another pod containing leveled loot. Straight ahead and up some steps is a large book that, when activated, transports the Dragonborn to Chapter II.
Up the stairs are three seekers. At the top of the third set of stairs, a ledge against the south wall leads west to a dead end and a pod with leveled loot and several books. Over a longer bridge, just before the last set of stairs in this chapter that lead up to the south southeast, a ledge against the west wall leads north to another pod with minor loot and several more books. Up the stairs to a higher platform, the book Boneless Limbs is on an altar. Taking that book causes a set of stairs on the north side of the room to extend. At the top of those stairs is a ledge overlooking a vast sea with tentacles waving. This ledge contains the book serving as the door to Chapter III.
Chapter III
This section starts with a tunnel leading northeast. A closed gate that cannot be opened is on the right (southeast) side, through which can be seen a scrye. The tunnel splits to the left and right, each side being guarded by a seeker. The left side is a dead end. The right side leads to a set of stairs up to a room with a table against the northeast wall that holds some loot, and a pedestal with the book Delving Pincers. Taking the book opens the gate back near the beginning of this chapter that was protecting the scrye. Returning to that room and activating the scrye will expand a tunnel ahead to the southeast.
At the end of the tunnel is a table with a soul gem, several scrolls and books. Turning right (west southwest), the path leads to a high overlook with numerous bridges leading to closed gates. To the left (south) is another scrye that can be activated, opening a gate to the right of the entrance of the room, in which is a vessel containing books and random loot. The central bridge leads to the far (south) side and a pod with random loot. To the right (west) of the pod is a pedestal with the book Prying Orbs. Taking the book causes a gate to open on the west side of the room, which is visible directly past the pedestal, but getting there requires walking around on the bridges. Going towards the newly opened gate and through the tunnels leads to a book that is the door to Chapter IV.
Chapter IV
There is an immediate choice whether to go left (east) or right (west) down steps. To the right, from the first landing down, a bridge to the west leads to a pod with random loot and some books. Either way down leads to several seekers, and eventually to an area of the room with a table against the east wall with some books. The main path leads south from there through a tunnel. The tunnel curves to the left (east) until an intersection is reached near a stone table. One tunnel leads to the right (south), but walking down it causes the entire tunnel to retract. The other tunnel to the east leads to the same retraction. If the Dragonborn then goes back west and south to the original starting location, they can see that the tunnels have shifted to lead to a new area with more seekers.
A set of stairs up to the southwest leads to a landing with a table (holding scrolls) and a pod (containing a small amount of gold and several more books). Up a second set of stairs to the north is a Font of Magicka and a pedestal with the book Gnashing Blades. Taking this book will cause the tunnel to shift again. Back down both sets of stairs, a new tunnel has opened to the right (south). The tunnel curves to the left (east) and leads to an intersection. On the right (south) is a dead end with tables to the left and right with many books. Back at the intersection, proceeding forward (east) into the apparent dead end will cause the tunnel to expand. There are two stone tables - the one on the left has scrolls and a soul gem, while the one on the right has seven books. The tunnel ahead leads to a Font of Stamina, where it turns left (north), then curves towards the left (west) and leads to another font of stamina. A short bridge leads northwest to a set of stairs where a seeker stands guard. Up the stairs is a table with a soul gem and five books. A bridge and steps lead right (east). There will also be a seeker around this area. The path continues up and clockwise until a scrye is reached. When activated, it shifts the tunnel so that going back down the steps and bridges counter-clockwise leads to another new area (which starts with a ramp up to the north).
This area is more open with a large pool in the middle, from which a lurker vindicator emerges. In the northwest corner of the room is a scrye that, when activated, opens a gate in the southwest corner. The tunnel behind the open gate leads north. There is a table at the end on the left side that contains several scrolls, soul gems, and a spell tome for the spell Conjure Seeker (only if the Dragonborn has a Conjuration level of 40). Straight ahead is a vessel with leveled loot. Back south against the east wall is another scrye that opens a large gate to the north in the main room. Beyond that gate are stairs leading to a Font of Magicka and a book that is the door to Chapter V.
Chapter V
Placing the books
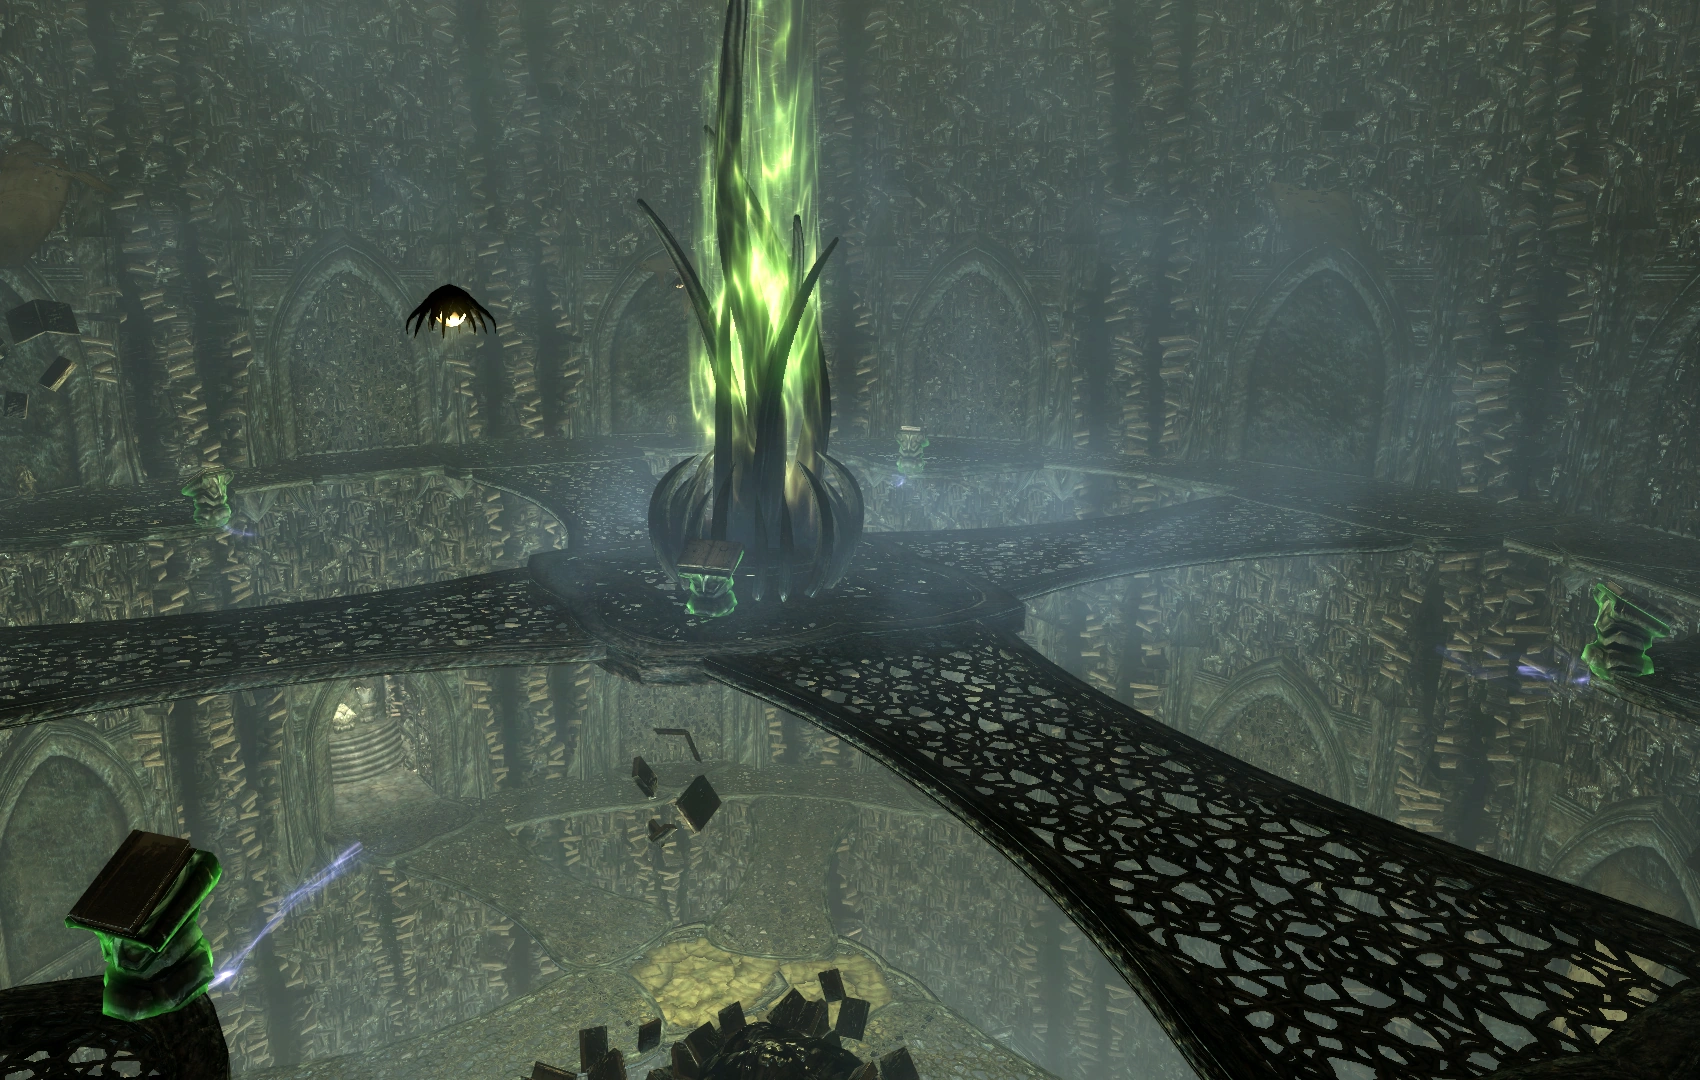
The tunnel leads northwest, then turns northeast. It leads to a large dome shaped area with several walkways, several pods with random loot around the edges, and a central glowing structure, all protected by a seeker. Also around the edges of the walkway that encircles the room are pedestals where the books that have been collected need to be placed. Each pedestal has a clue as to which book needs to be placed there:
- The pedestal with the fangs – Gnashing Blades
- The pedestal with the pincers – Delving Pincers
- The pedestal with the tentacles – Boneless Limbs
- The pedestal with the eye – Prying Orbs
Once the final book is placed, the central structure opens, and now the book that leads to Chapter VI can be entered.
Chapter VI

Seekers examining the Word Wall
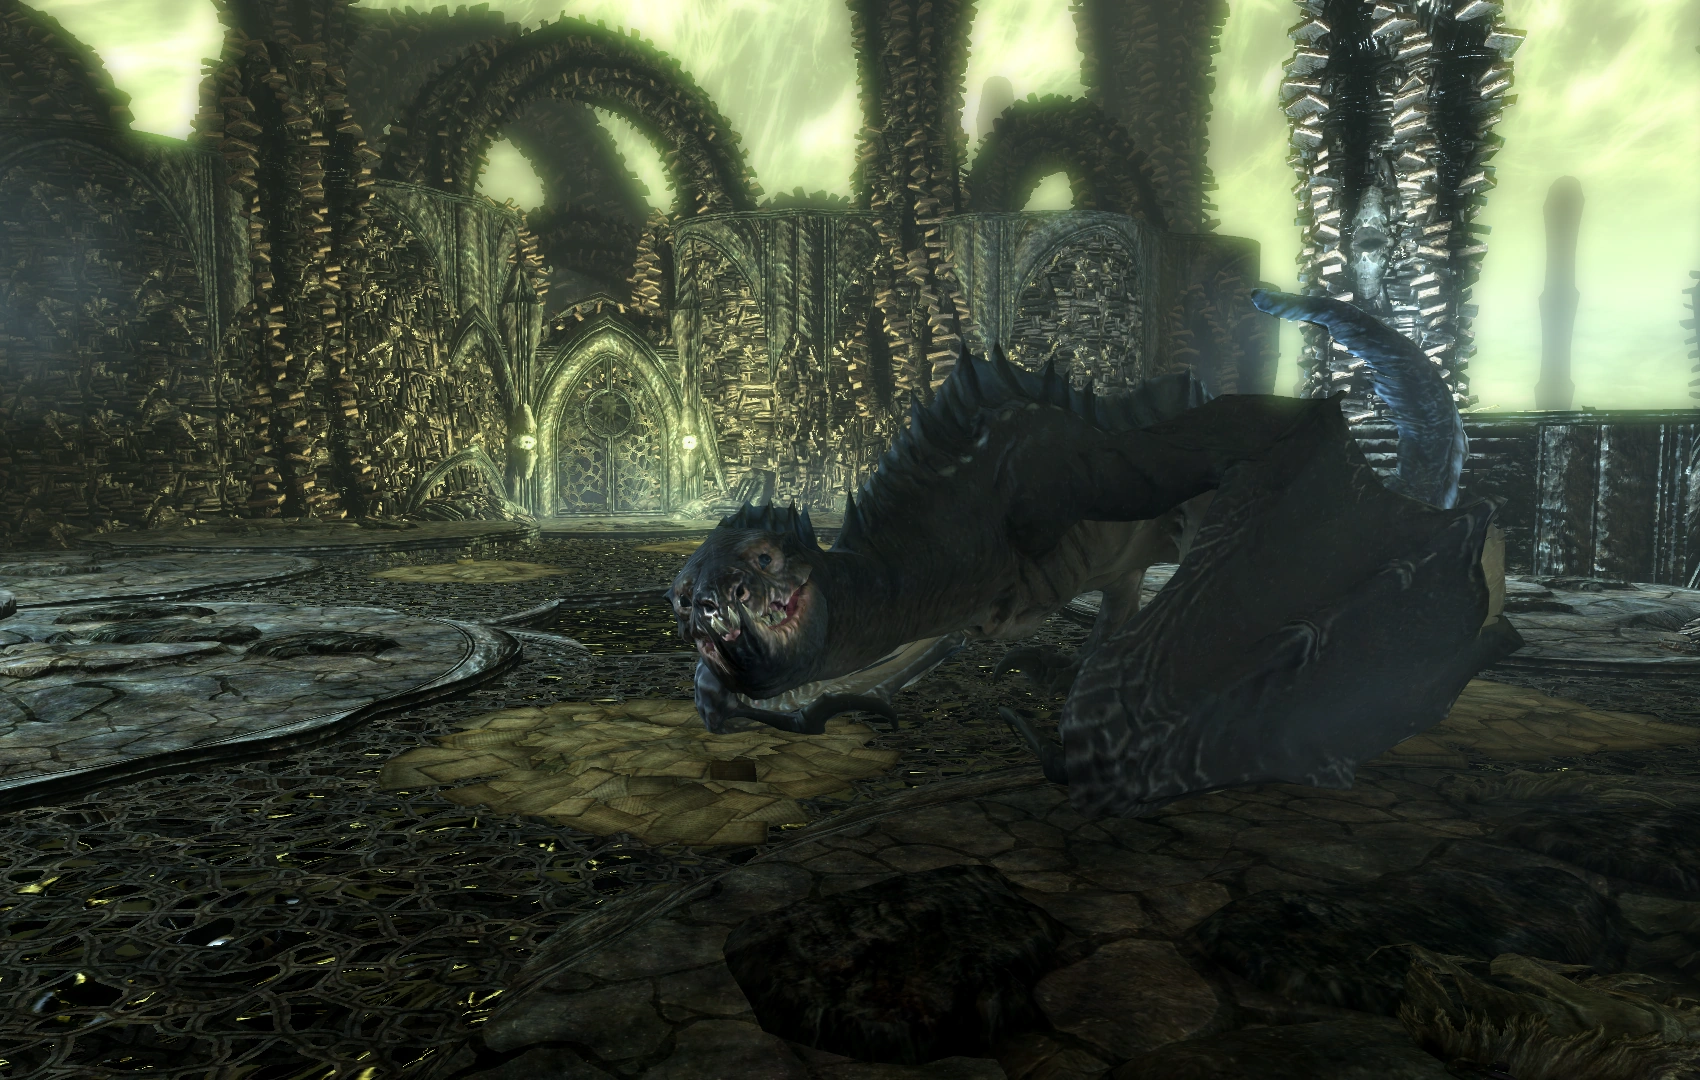
This book leads to the summit. Down a short set of steps, it is possible to go left (south) or right (north). Either path ends up in the same place, but going right leads past a table with the skill book The Art of War Magic and a soul gem. A tunnel leads up to an open area. In the distance are two seekers studying a word wall. After defeating them and a Lurker that appears out of a slime pool, reading the Word Wall will teach a word of the Dragon Aspect shout.
Suddenly, Miraak's dragon, Sahrotaar, will fly overhead and attack. The full power Bend Will shout will break his will. He will land and state, "Hail, thuri. Your thu'um has the mastery. Climb aboard and I will carry you to Miraak."
Once the Dragonborn mounts him, he will take off and a message will appear to explain how to ride the dragon. Sahrotaar cannot be directly controlled in flight, rather guided in a general direction to attack enemies. He will fly over a platform with several seekers and lurkers, giving the Dragonborn a chance to practice attacking. Once they are all dead, he will proceed to the high tower with Miraak.
- Note: If the Dragonborn has not yet reached this point in the main questline, Sahrotaar will not appear. Read the Black Book: Waking Dreams again to leave Apocrypha.
The First Dragonborn

"Hail, thuri. Your thu'um has the mastery."
During the flight to the tallest tower in Apocrypha, Sahrotaar will remark: "Beware, Miraak is strong. He knew you would come here." Upon reaching the tower, Miraak will remark: "Sahrotaar, are you so easily swayed? No. Not yet. We should greet our guest first."
Upon landing and dismounting Sahrotaar, Miraak begins a short monologue while his dragon minions, Relonikiv and Kruziikrel, sit perched upon the nearby arches:
"And so the First Dragonborn meets the Last Dragonborn at the summit of Apocrypha. No doubt just as Hermaeus Mora intended. He is a fickle master, you know. But now I will be free of him. My time in Apocrypha is over. You are here in your full power, and thus subject to my full power. You will die. And with the power of your soul, I will return to Solstheim and be master of my own fate again. Kruziikrel! Relonikiv! Now!"
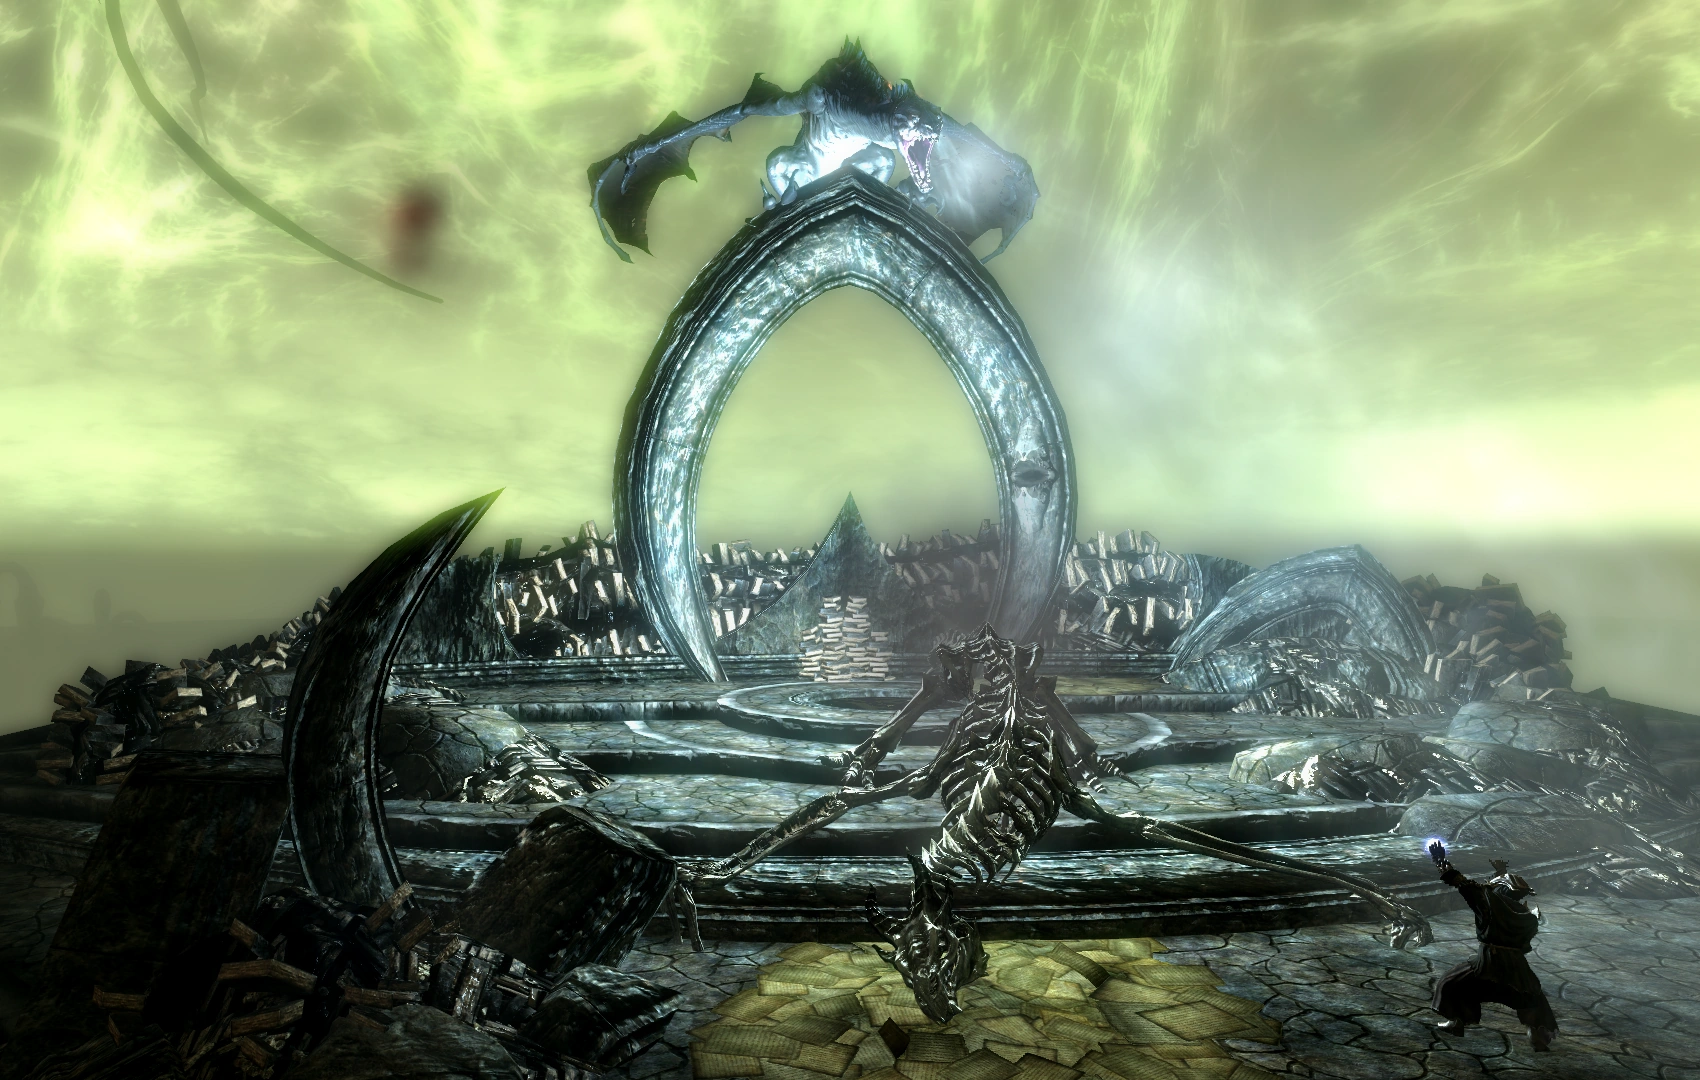
Miraak and Sahrotaar locked in combat.
This can be a very hard battle. During it, Miraak will have to be defeated four times. The first three times he is brought down to low health, he will become ethereal, teleport to the middle of the arena and use a shout to kill a dragon and absorb its soul, restoring his health completely.
When all three dragons have been killed and he reaches low health again, Hermaeus Mora will intervene, levitating Miraak in the air and impaling him with a tentacle before incinerating him.
Hermaeus Mora: "Did you think to escape me, Miraak? You can hide nothing from me here. No matter. I have found a new Dragonborn to serve me."
Miraak: "May he/she be rewarded for his/her service as I am!"
Hermaeus Mora: "Miraak harbored fantasies of rebellion against me. Learn from his example. Serve me faithfully, and you will continue to be richly rewarded"

Hermaeus Mora intervenes
Miraak's death marks the end of the quest. Upon his death, ten dragon souls are gained from him, plus any he stole from dragons the Dragonborn killed. His skeletal remains can be looted for his mask, robes, boots, gloves, sword and staff. In addition, each of the dragons he killed can be looted for dragon bones, dragon scales and gold.
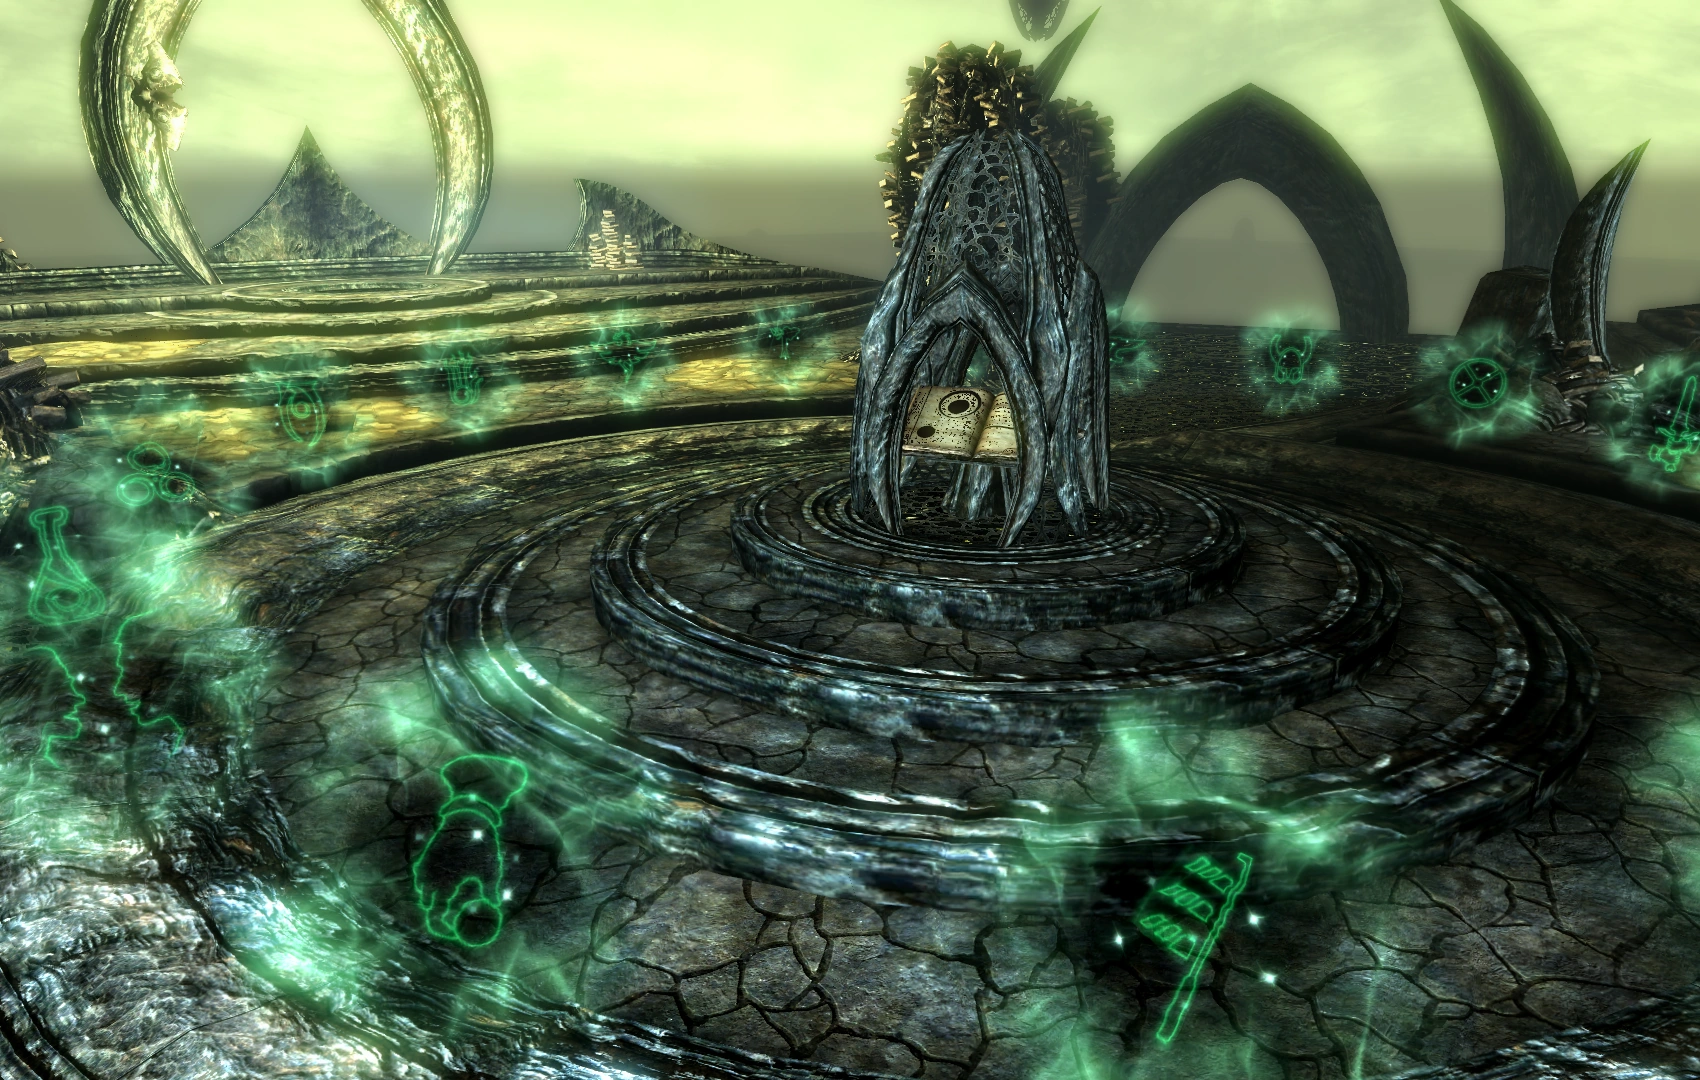
A structure will then appear out of the central pool with the Black Book on a pedestal. Activating the book will cause several green orbs with one skill tree on each to appear. These orbs allow the Dragonborn's skill trees to be reset. Resetting a skill tree cost one dragon soul and frees up all perk points in that tree for redistribution to any skill tree. This can be done with any number of skill trees as long as the Dragonborn has remaining dragon souls. Activating the book a second time will return the Dragonborn to Solstheim.
Conclusion
After returning to the Skaal Village, Frea will ask the Dragonborn whether Miraak is dead. She then asks whether her father's death was necessary. Finally, she will offer advice to the Dragonborn, warning them that Herma-Mora's path is not compatible with what the All-Maker intended when he created the Dragonborn.
Reward

Respec perks
Once the quest is completed, several glowing green orbs will form a ring around the central structure. Each orb represents a skill.
Activating an orb grants the ability to wipe the associated skill tree of all the perks invested into it. The skill points can then be re-invested into a different skill tree, essentially "re-specing" the Dragonborn.
The cost of resetting a skill tree is one dragon soul. This is not a single use reward, rather it can be performed at any time by reading Waking Dreams and returning to Apocrypha.
Journal
| Journal Entry |
|---|
Hermaeus Mora taught me the final Word of Power of the "Bend Will" Shout, killing Storn in the process. I now have what I need to return to Apocrypha and face Miraak.
|
|
|
Hermaeus Mora taught me the final Word of Power of the "Bend Will" Shout, killing Storn in the process. With this Shout, I can tame Miraak's dragon and force him to fly me to Miraak's temple in Apocrypha.
|
|
| Hermaeus Mora taught me the final Word of Power of the "Bend Will" Shout, killing Storn in the process. I used the Shout to tame Miraak's dragon and flew to his temple, where he was waiting for me. |
Hermaeus Mora taught me the final Word of Power of the "Bend Will" Shout, killing Storn in the process. I used the Shout to tame Miraak's dragon and flew to his temple, where I fought and killed him. Miraak will never threaten Solstheim again.
|
Gallery
")
")
")
")
")
")
")
")
Trivia
- Until this quest is completed, no new quests can be acquired from the Skaal, nor can any other quests from the Skaal be completed.
Bugs
|
This section contains bugs related to At the Summit of Apocrypha. Before adding a bug to this list, consider the following:
|
| Click to see the list of bugs encountered |
|---|
|