This article contains video content produced by Fandom with some or no input from editors of The Elder Scrolls Wiki, and may not properly represent the scope of the written article below. Statements and footage within the video may be inaccurate, outdated, incomplete, or otherwise misleading to viewers.
|

|
Discerning the Transmundane is a quest available in The Elder Scrolls V: Skyrim. It serves as the Daedric quest for the prince Hermaeus Mora. It also runs concurrently with the main quest "Elder Knowledge," and is the only other method of accessing Blackreach other than Elder Knowledge.
Background
"I met Septimus Signus, a brilliant but mad scholar living in the northern ice fields. He's directed me to a Dwarven observatory that supposedly houses an Elder Scroll. He doesn't care about the Scroll itself, but wants me to use some kind of machine there to inscribe a Dwarven lexicon with the Scroll's knowledge and bring it to him."
Walkthrough
Although this quest can be started at any level, such as during the main quest "Elder Knowledge," the second part involving the harvesting of blood can only be initiated after level 15.
It can be started by speaking to Septimus Signus, a brilliant but mad scholar who has devoted his life to studying the Elder Scrolls. He can be found in Septimus Signus's Outpost, an ice cave north of Winterhold. He explains that the Dwemer lockbox buried within the outpost holds the "heart of a god" and he wishes to access it to learn its secrets.
He gives the Dragonborn an Attunement Sphere and a Blank Lexicon which must be inscribed with the Dwemer mechanism located within the Tower of Mzark. The tower can only be accessed via Blackreach, the underground ruins of an ancient Dwemer city.
Alftand Glacial Ruins
The first step is to travel to the Dwemer ruin of Alftand, located in the snowy mountains southwest of Winterhold. Enter the Alftand Glacial Ruins and progress through the tunnels of ice. Eventually, a Khajiit skooma addict, named J'darr, will attack. His brother's journal reveals that he, along with several others, were members of a failed expedition to the ruins. Proceed through the caves and past two Dwarven spiders until the Alftand Animonculory is reached.
Alftand Animonculory
Proceed through the ruins and fight past the various Falmer that reside here. Several dead members of the failed expedition can be found here. Eventually, the Alftand Cathedral will be reached which grants access to Blackreach.
The Alftand Cathedral
Head past the traps and Falmer who guard this section. Past a set of double doors opens into a large room patrolled by several enemies. Head through the main gate where two Dwarven Centurions can be found. One Centurion lies on the floor inactive, however, the other will awaken when approached. Defeat the Centurion and take the key from its corpse. Proceed to the next gate where a Redguard named Umana and an Imperial named Sulla Trebatius begin to fight, after a brief exchange of words. If one is killed, the other will turn and attack the Dragonborn.
Proceed towards the Dwarven mechanism located in the center of the room. Activate the mechanism with the Attunement Sphere which causes the floor to retract into stairs. Head down the stairs and into Blackreach.
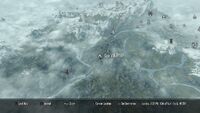
Blackreach
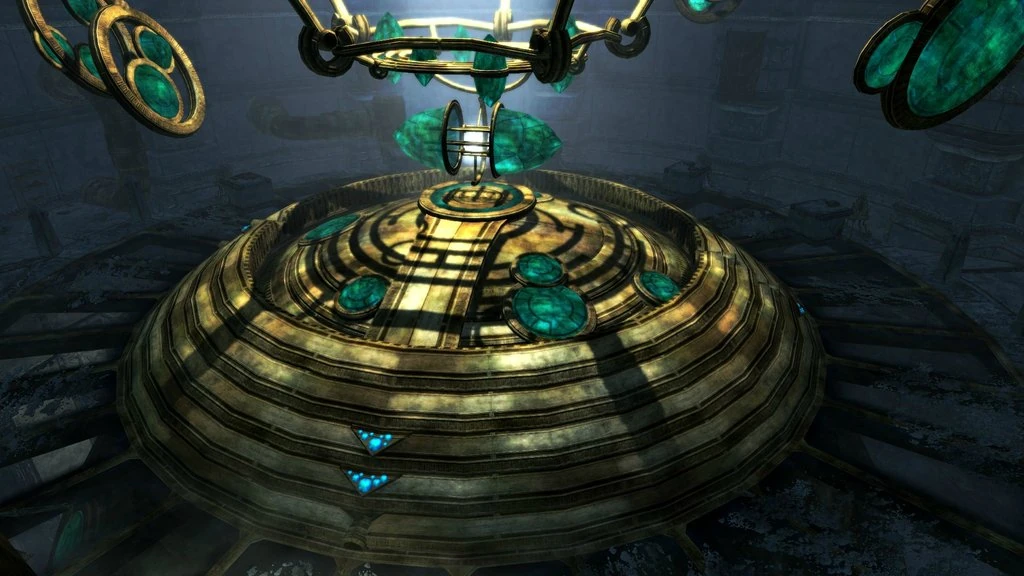
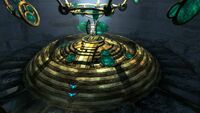
Progress through the vast cavern towards the objective marker, fighting off the various creatures within. Once the Tower of Mzark is reached, near the southwest corner of Blackreach, proceed inside and through the corridors to the main room. Head up the spiral stairs until the Dwemer mechanism is reached. Place the Blank Lexicon inside the receptacle and begin the inscription puzzle.
Lexicon puzzle
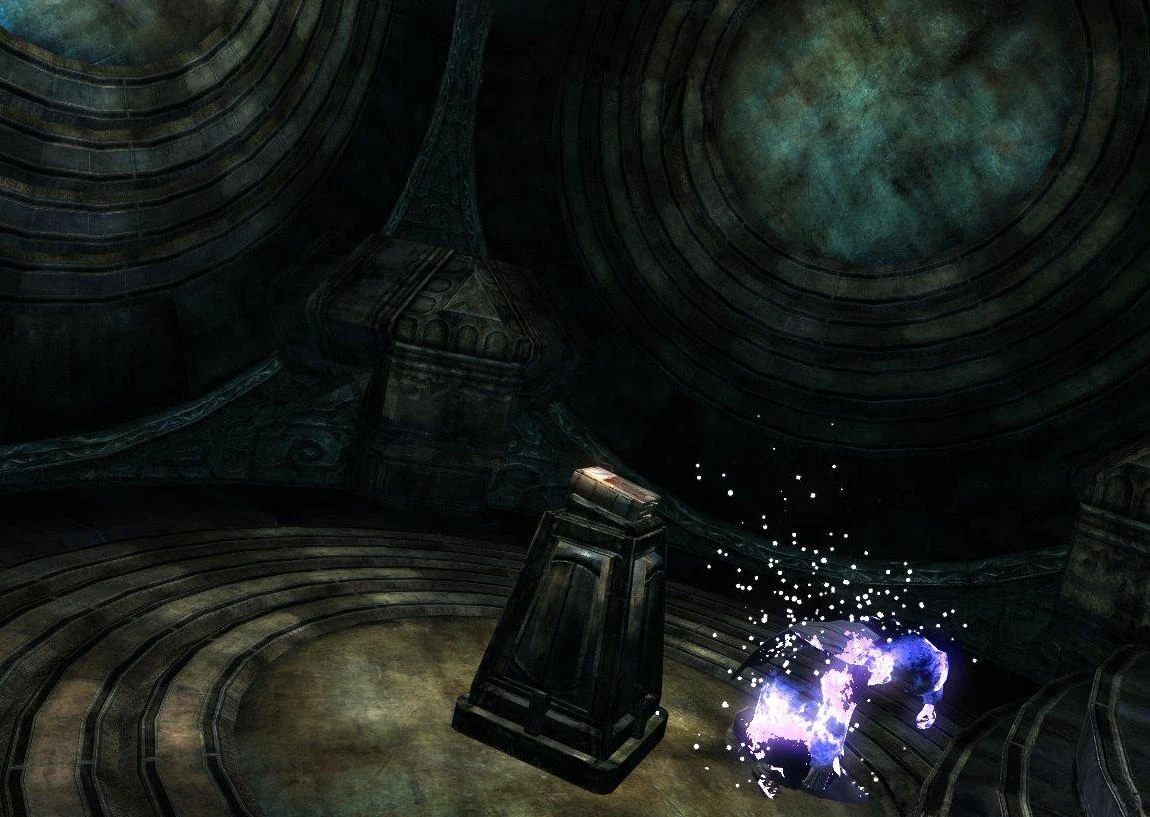
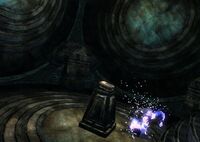
Dwarven machine housing the Elder Scroll.
Solving the puzzle involves pushing four buttons on the podium in a certain order. After the Lexicon is placed on the designated receptacle, the two buttons on the right side will light up.
To decipher the code, press the third button from the left a few times until the Lexicon opens and button two lights up. Press the second button from the left twice (until the overhead lenses are seen directing light onto the sphere), then the first button lights up. Press this button to reveal the scroll.
Pick up the Elder Scroll and the runed lexicon from the receptacle. Exit the Tower through the door beneath the button console and return to Septimus.
Return to Septimus

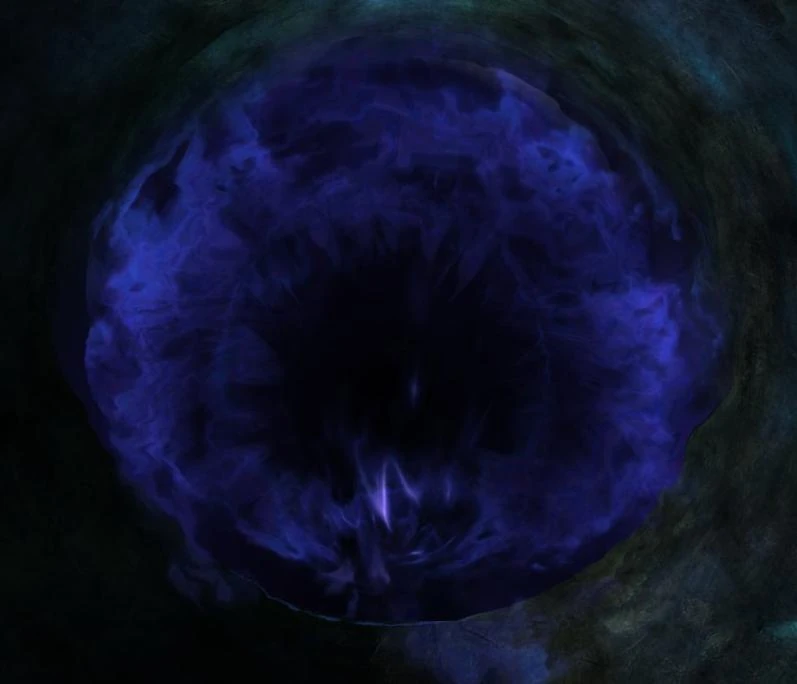
Hermaeus Mora in the form of a Wretched Abyss
The next part of this quest is dependent on character level. Returning to Septimus at under level 15 will cause him to dismiss the Dragonborn until he has had time to study the Lexicon. When level 15 is reached, he will send a courier to summon the Dragonborn back to the outpost.
Returning to Septimus at level 15 or higher will prompt him to begin immediately reading the Lexicon. He then reveals that he is in the service of Hermaeus Mora, the Daedric Prince of Knowledge.
After studying the Runed Lexicon, he explains that Dwemer blood is needed to open the Dwemer lockbox. Since the Dwemer are extinct, blood from the various Mer races must be collected to create a facsimile. Specifically, the blood of Altmer, Bosmer, Dunmer, Falmer, and Orsimer. Septimus then gives the Dragonborn an Essence Extractor and requests that the blood be collected for him.
Hermaeus Mora's intervention
Upon trying to leave the iceberg, Hermaeus Mora confronts the Dragonborn and reveals that as soon as the lockbox is opened, Septimus' usefulness will be over. He then offers the Dragonborn Septimus' position. Responding either way has no discernible consequences.
Harvesting blood
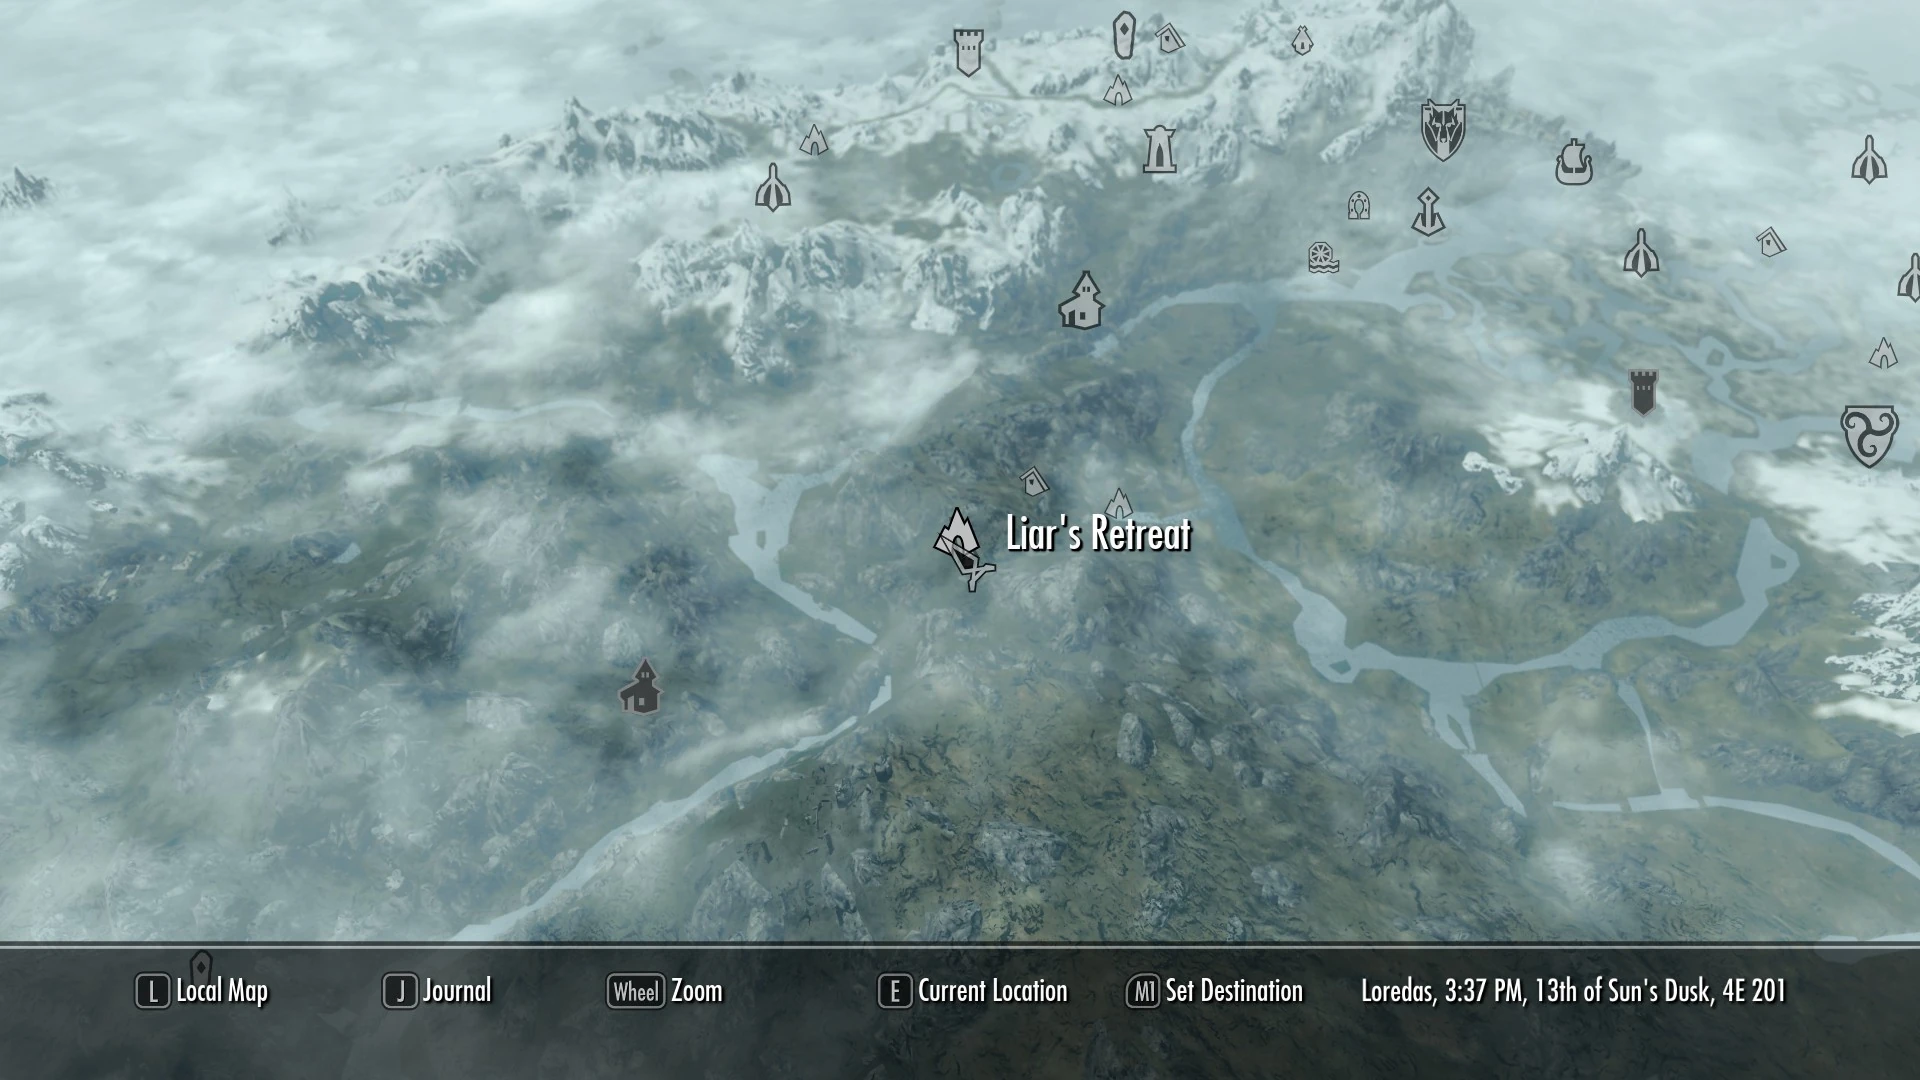
Liar's Retreat.
To harvest the blood, loot the corpse of a deceased person with the Essence Extractor in the inventory. Blood samples can be acquired from any dead body in Skyrim.
Liar's Retreat is one of the few locations where all blood types, except Altmer, can be found. If this location is used, then the quickest way to obtain the missing Altmer blood is from the corpse of the Altmer inside the spiked pit trap in Halted Stream Camp. The pit trap can be accessed without entering the mine itself, though it is advisable to go through the mine as falling on the spikes from above can kill the Dragonborn instantly.
Locations containing most blood types
- Liar's Retreat – contains all blood types except Altmer.
- Nightcaller Temple – Altmer, Dunmer and Orsimer.
- Rannveig's Fast – Bosmer, Dunmer and Orsimer.
- Silverdrift Lair – Bosmer, Dunmer and Orsimer.
Other locations
The following is a list of locations that contain corpses or enemies that can be freely slain and used to harvest blood.
| Altmer (High Elf) |
|---|
|
| Bosmer (Wood Elf) |
|
| Dunmer (Dark Elf) |
|
| Falmer |
|
| Orsimer (Orcs) |
|
Opening the lockbox
Septimus disintegrates into a pile of ash as he reaches to take the Oghma Infinium.
Once the blood has been harvested, return to Septimus. He enthusiastically asks for the extractor and presses it into his abdomen, injecting the blood into his body.
He then approaches the lockbox and the locking mechanism begins to spin. A tunnel-like entrance appears and Septimus runs inside, but much to his dismay he does not find the answers he was looking for.
Rather than the "heart of a god," all he finds is a pedestal on which the Oghma Infinium sits. Amidst the confusion, he begins to levitate and Hermaeus Mora disintegrates him into a pile of ash.
Approach the pedestal and take the Oghma Infinium. Upon leaving the chamber, the Wretched Abyss appears again as a manifestation of Hermaeus Mora. He greets the Dragonborn as his Champion and an option is presented to agree or disagree with his assertion. Again, either answer has no ramifications.
After the conversation is over the Wretched Abyss dissipates and the quest is completed.
Journal
| Discerning the Transmundane – DA04 | |
|---|---|
| ID | Journal Entry |
| 5 | I've been given a book of bizarre ramblings about Elder Scrolls, written by Septimus Signus. He claims to have spent time at the Winterhold Arcanaeum.
|
| 10 | I've learned that Septimus Signus, a preeminent scholar of the Elder Scrolls, is currently living in the far north, studying a Dwarven artifact. He might know where I can find an Elder Scroll for Paarthurnax.
|
| 20 |
I met Septimus Signus, a brilliant but mad scholar living in the northern ice fields. He's directed me to a Dwarven observatory that supposedly houses an Elder Scroll. He doesn't care about the Scroll itself, but wants me to use some kind of machine there to inscribe a Dwarven lexicon with the Scroll's knowledge and bring it to him.
|
| 30 |
|
| 35 |
Under Level 15: I met Septimus Signus and brought him a Dwarven lexicon containing the distilled knowledge of an Elder Scroll. With it, he believes he can open the lockbox he's been studying. He will contact me when he has the secret.
|
| 40 |
Level 15+: I met Septimus Signus and brought him a Dwarven lexicon containing the distilled knowledge of an Elder Scroll. With it, he believes he can open the lockbox he's been studying by creating a mixture of blood that will resemble Dwarven. I need to collect blood from several different races if I want to help him.
|
| 50 |
|
| 55 |
|
| 100 |
I met a strange hermit named Septimus Signus, who needed the knowledge of an Elder Scroll and a collection of blood to open a dwarven lockbox he had studied for years. I helped him open it. It did not contain what he had expected, but instead a book of great knowledge, the Oghma Infinium.
|
| 105 |
I met and killed a strange hermit named Septimus Signus, who needed the knowledge of an Elder Scroll and a collection of blood to open a dwarven lockbox he had studied for years.
|
Trivia
- If The Elder Scrolls V: Dragonborn is installed, the Wretched Abyss is replaced by a mass of floating tentacles, which is how Hermaeus Mora appears throughout the add-on.
- Arch-Curate Vyrthur from Dawnguard cannot be harvested for Falmer blood despite being the same race. This is likely due to him also being a Vampire.
- Even if the Dragonborn is of an elven race, they cannot harvest blood from themselves to fill the Essence Extractor.
Bugs
|
This section contains bugs related to Discerning the Transmundane. Before adding a bug to this list, consider the following:
|
| Click to show |
|---|
|