*'''Objective:''' Guide Meridia's Light through the temple
*'''Objective:''' Guide Meridia's Light through the temple
*'''Target:''' [[Kilkreath Temple]], below the Statue to Meridia
*'''Target:''' [[Kilkreath Temple]], below the Statue to Meridia
−
*Note: When you are in the sky before she talks you are able to walk around and check out the world
===Shining Light on the Dark Temple===
===Shining Light on the Dark Temple===
After making a way inside, the Dragonborn will notice a desecrated corpse on the first flight of stairs, throughout the entire interior there is an abundance of them, each one has a handsome amount of coin ripe for the looting. As well as desecrated corpses, there is a large number of traps, and a few locked doors that once picked reveals a lever that opens a nearby gate with treasure on the other side.
After making a way inside, the Dragonborn will notice a desecrated corpse on the first flight of stairs, throughout the entire interior there is an abundance of them, each one has a handsome amount of coin ripe for the looting. As well as desecrated corpses, there is a large number of traps, and a few locked doors that once picked reveals a lever that opens a nearby gate with treasure on the other side.
−
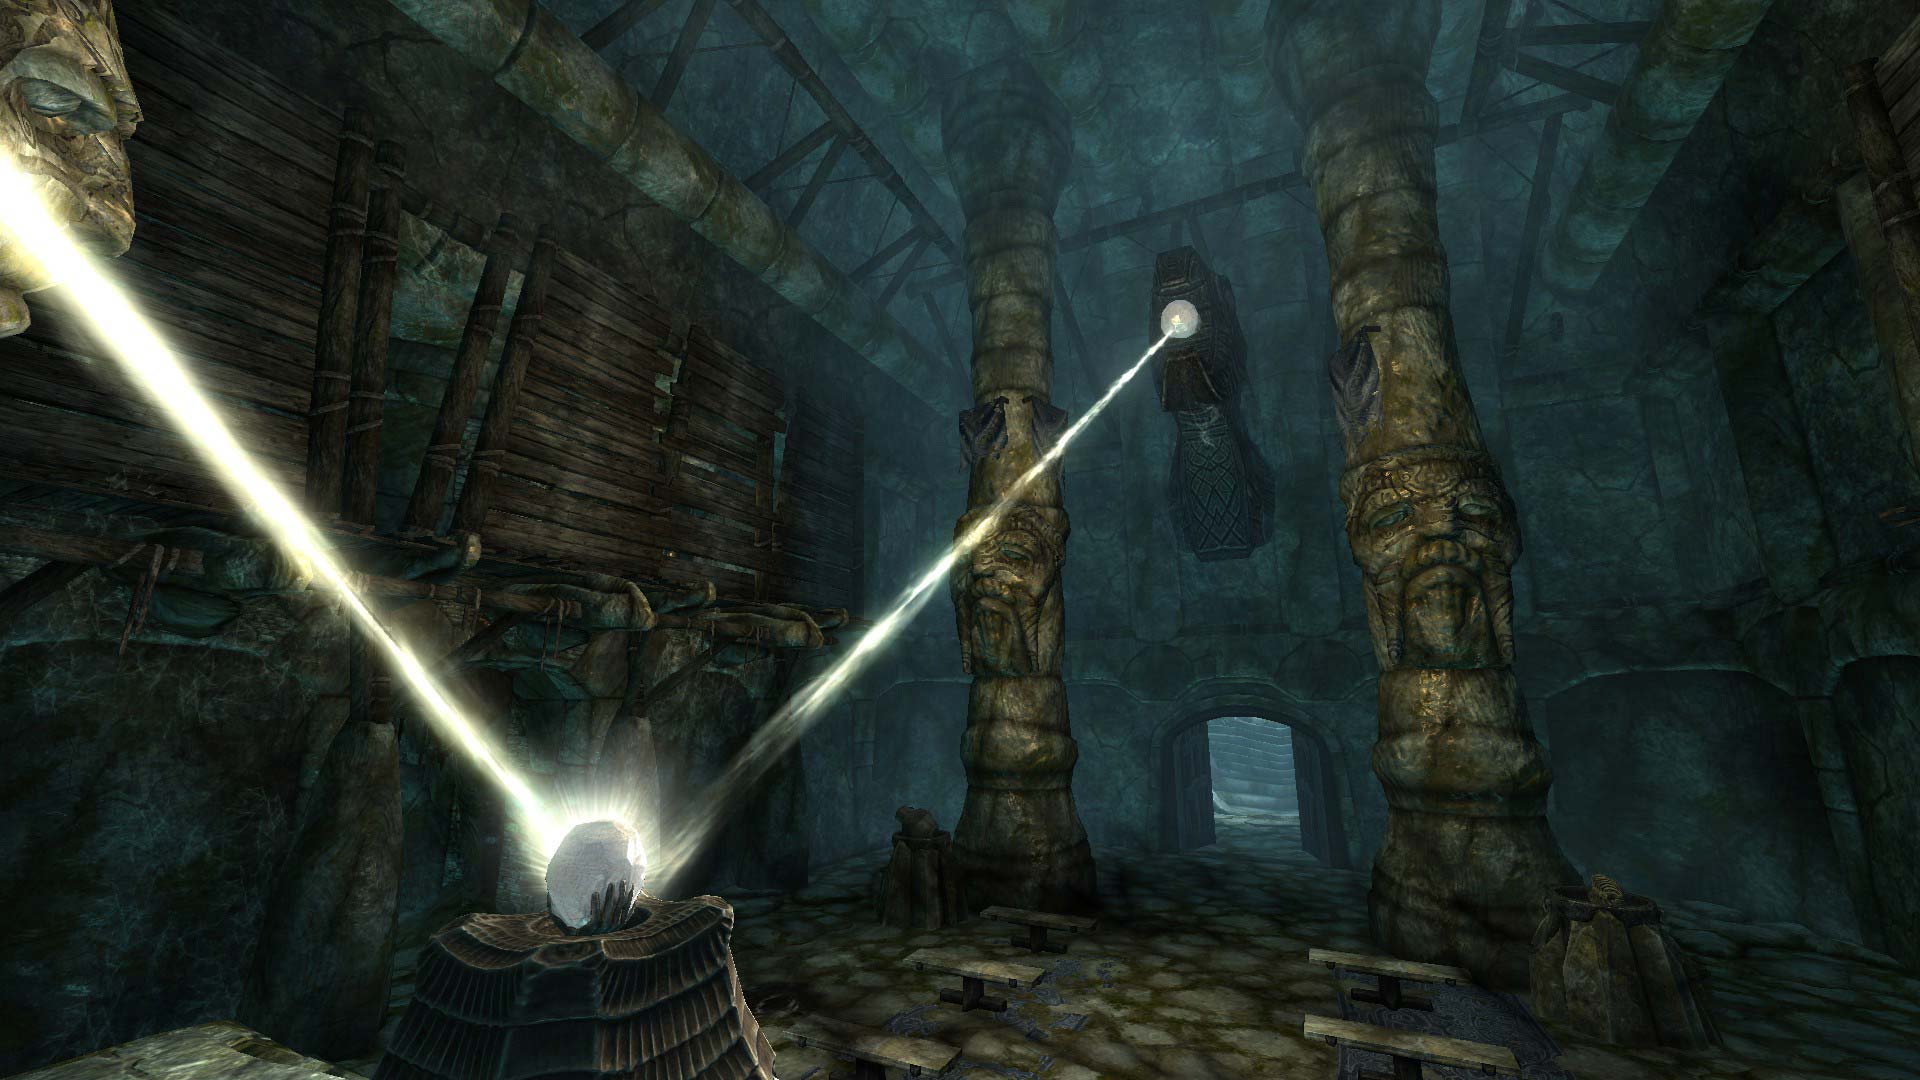
In the first chamber, the temple, there are a total of three pedestals to be activated to direct Meridia's light. The first room has no significant loot, and one pedestal. Continue descending to the room with the second pedestal and activate it, be careful not to walk through the beam of light, as it isharmful. At the top of the steps, one can see the beam of light shining through some debris that cannot be breached; go back down the steps and through the hallway to the right.
+
In the first chamber, the temple, there are a total of three pedestals to be activated to direct Meridia's light. The first room has no significant loot, and one pedestal. Continue descending to the room with the second pedestal and activate it, be careful not to walk through the beam of light, as it drains Health and Magicka. At the top of the steps, one can see the beam of light shining through some debris that cannot be breached; go back down the steps and through the hallway to the right.
−
−
(Note: Walking into the path of the light beams will drain your Health and Magicka)
[[File:IMG 5957.jpg|thumb|300px|Light hitting one of the pedestals]]
[[File:IMG 5957.jpg|thumb|300px|Light hitting one of the pedestals]]
Line 57:
Line 54:
When Malkoran and his corrupted followers are finally dead, Meridia tells the Dragonborn to retrieve the Dawnbreaker.
When Malkoran and his corrupted followers are finally dead, Meridia tells the Dragonborn to retrieve the Dawnbreaker.
−
Note:It is recommended to loot the room before taking the Dawnbreaker, as there will not be another chance to come back afterretrievingit.Alsoif you hit the Dawnbreaker with a fire rune, you are able to duplicate it once.Alsohiddenunder the vinesdirectlybehind where the Dawnbreaker is in its pedestal, you can find an extra dawnbreaker sword.
+
Note that there will not be another chance to come back to this room after retrieving the Dawnbreaker, so it is recommended to loot the room before taking the sword.
===Dawnbreaker===
===Dawnbreaker===
−
[[File:IMG 5974.jpg|thumb|300px|right|Meridia speaks to you after banishing the evil]]
+
[[File:IMG 5974.jpg|thumb|300px|right|Meridia speaks to the Dragonborn after the evil is banished]]
*'''Objective:''' Retrieve Dawnbreaker
*'''Objective:''' Retrieve Dawnbreaker
Once the Dragonborn takes Dawnbreaker, again being careful of the beam, he or she will be whisked back to the heavens for one last conversation and a great view.
Once the Dragonborn takes Dawnbreaker, again being careful of the beam, he or she will be whisked back to the heavens for one last conversation and a great view.
Revision as of 11:27, 20 May 2013
This quest is started by visiting the Statue to Meridia or by finding the radiant quest item Meridia's Beacon, before ever visiting the shrine in random chests, past level 12.
Upon obtaining the beacon, which is a large gem with no value, Meridia commands the Dragonborn to take the beacon to the shrine located west of Solitude, directly north of the Haafingar Stormcloak Camp. Once there, Meridia will tell the Dragonborn that there is a powerful necromancer named Malkoran defiling her temple, whom the Dragonborn must destroy.
After reaching level 12, the beacon can be found in a variety of locations including but not limited to: Giant camps, bandit camps, dungeons, and ruins. If Dragonborn is installed, the beacon may be found in Solstheim.
Bring Meridia's beacon back to the Statue to Meridia, and place it into the hands of the statue.
After falling back to Skyrim, the Dragonborn is instructed to guide a beam of light throughout the ruins, activating pedestals to direct Meridia's light in order to unlock several doors.
Destroy Malkoran and his Corrupted Shades, once Malkoran dies he is resurrected as a Shade himself to be defeated a second time.
Retrieve Dawnbreaker, a one-handed sword that has a powerful enchantment against undead.
Detailed walkthrough
Beholding the Beacon of Light
After reaching Level 12, the Dragonborn may discover this strange gem randomly in one of the large and ornate chests he or she opens; it's not in any fixed location. Alternatively, the Dragonborn can travel to Meridia's shrine where she will speak of a profane darkness that has defiled her temple, and will then set a waypoint to the beacon. Once the beacon is obtained, Meridia will speak to the Dragonborn every day (this effect is removed by update 1.6 or earlier) as she becomes increasingly alarmed at their lack of interest in helping the Solar Daughter, Meridia.
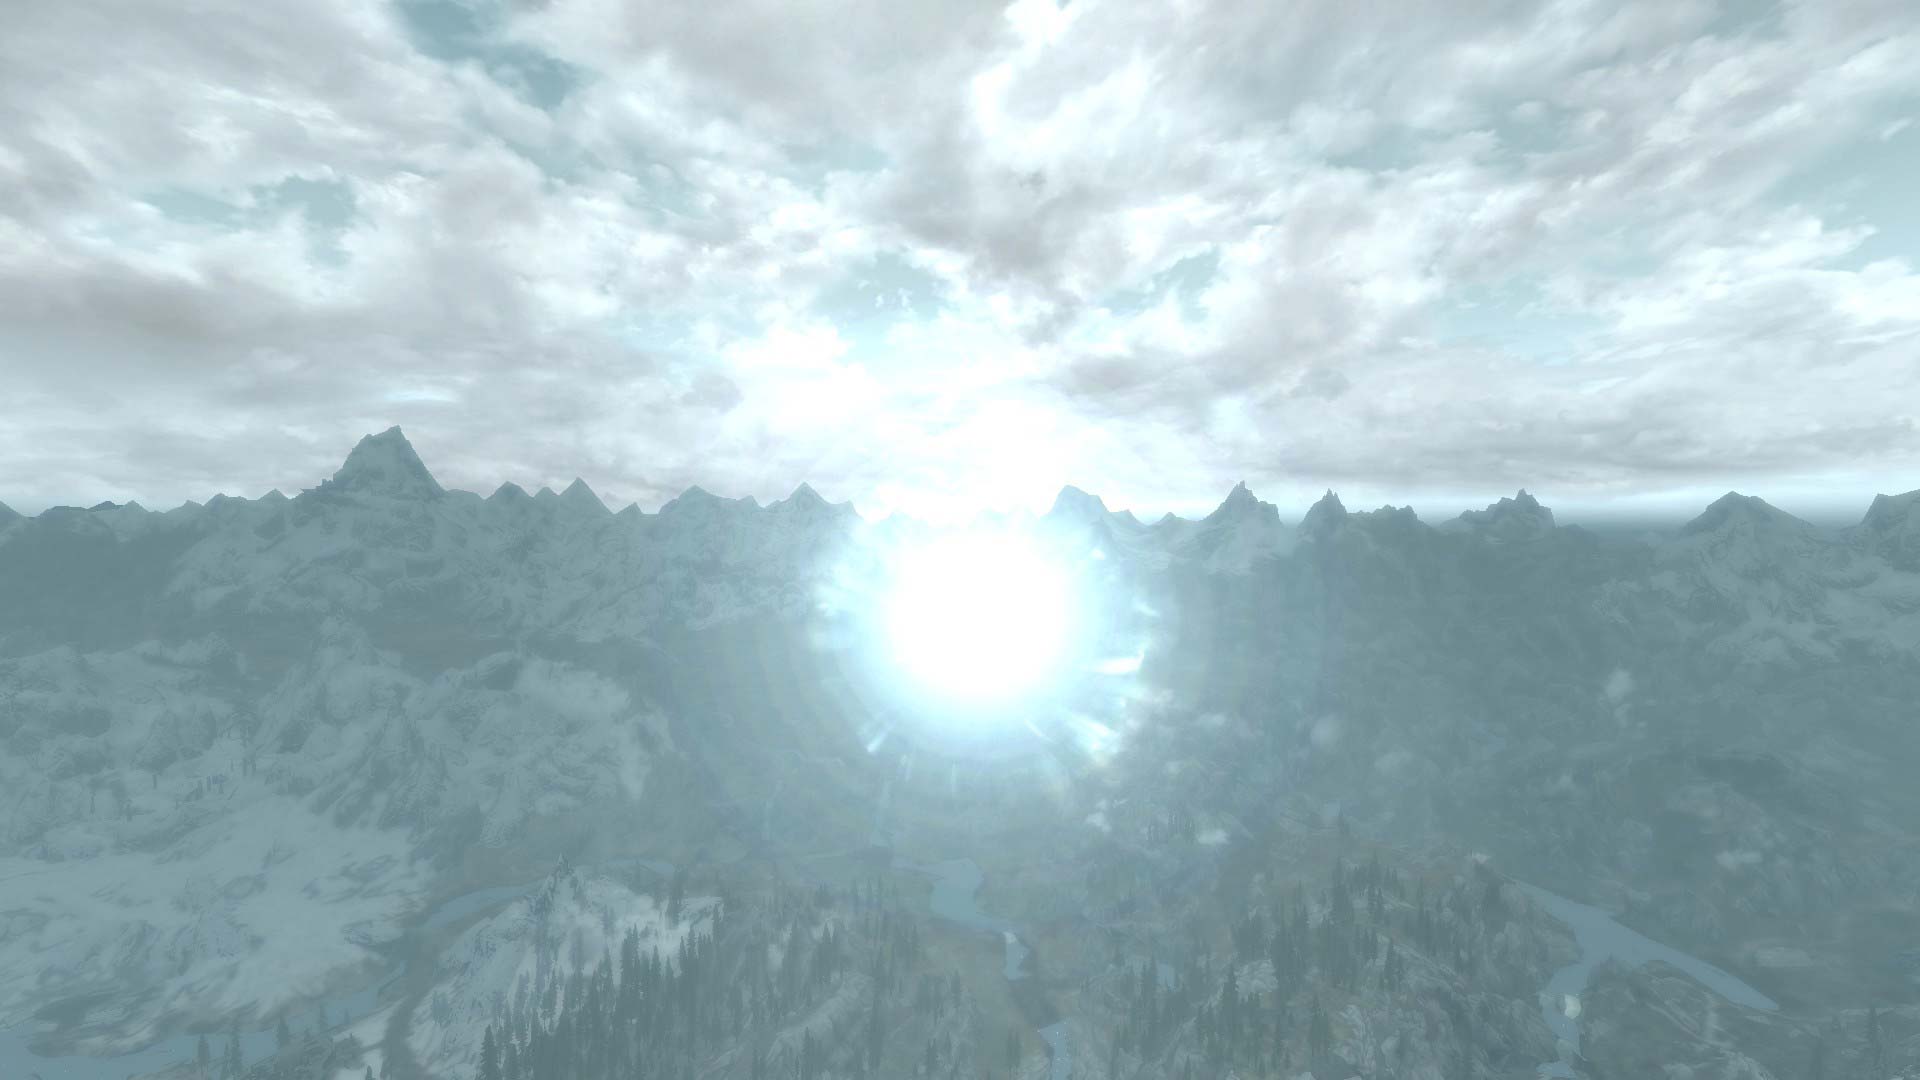
Meridia speaks with the Dragonborn high in the heavens.
The Dragonborn is then whisked into the clouds when a glowing orb of Meridia's light appears, she elaborates about a necromancer named Malkoran planning to raise the dead of Skyrim to wage war on the living, using the energy of a powerful artifact in her shadow-filled shrine. The Dragonborn is to enter her shrine and direct a beam of light throughout the dungeon.
Objective: Guide Meridia's Light through the temple
After making a way inside, the Dragonborn will notice a desecrated corpse on the first flight of stairs, throughout the entire interior there is an abundance of them, each one has a handsome amount of coin ripe for the looting. As well as desecrated corpses, there is a large number of traps, and a few locked doors that once picked reveals a lever that opens a nearby gate with treasure on the other side.
In the first chamber, the temple, there are a total of three pedestals to be activated to direct Meridia's light. The first room has no significant loot, and one pedestal. Continue descending to the room with the second pedestal and activate it, be careful not to walk through the beam of light, as it drains Health and Magicka. At the top of the steps, one can see the beam of light shining through some debris that cannot be breached; go back down the steps and through the hallway to the right.
Light hitting one of the pedestals
The room with the third pedestal has a lever locked room on the north side of the area, along with a few urns; after activating the pedestal, the Dragonborn will exit to the Balcony that contains a large chest to the east, and will be led back inside the Ruins.
Up some stairs, the Dragonborn will encounter a fairly large room that contains three more pedestals. Activating the pedestal directly straight up the wooden steps opens a door on that same level. Through the short hallway, there will be four burial urns to the left and a wooden door past that; that said door is rigged, so pick the trap to find a small room with some loot. Before entering the next hallway, there is a conveniently placed tripwire around the corner to the left that sets off some swinging axes. If unsure what the lever on the floor in the corner is for, continue through the caged walkway, activate the pedestal on the left, jump back over and take the ramp to find good treasure in the northwest corner, then go through the door that was just unlocked.
Next there will be a dimly lit room with a second level on either side. The steps up to the left will case a regular pedestal that's rigged with spikes. The other side will lead the Dragonborn through another short hall to the very top of the main room and to the third pedestal to activate. Carefully jump down to the main floor and head to the Kilkreath Catacombs.
Continuing to the room with the final pedestal, activate it, and there is one chest here to the right of the double doors. Go down more stairs and see Malkoran performing some sort of ritual.
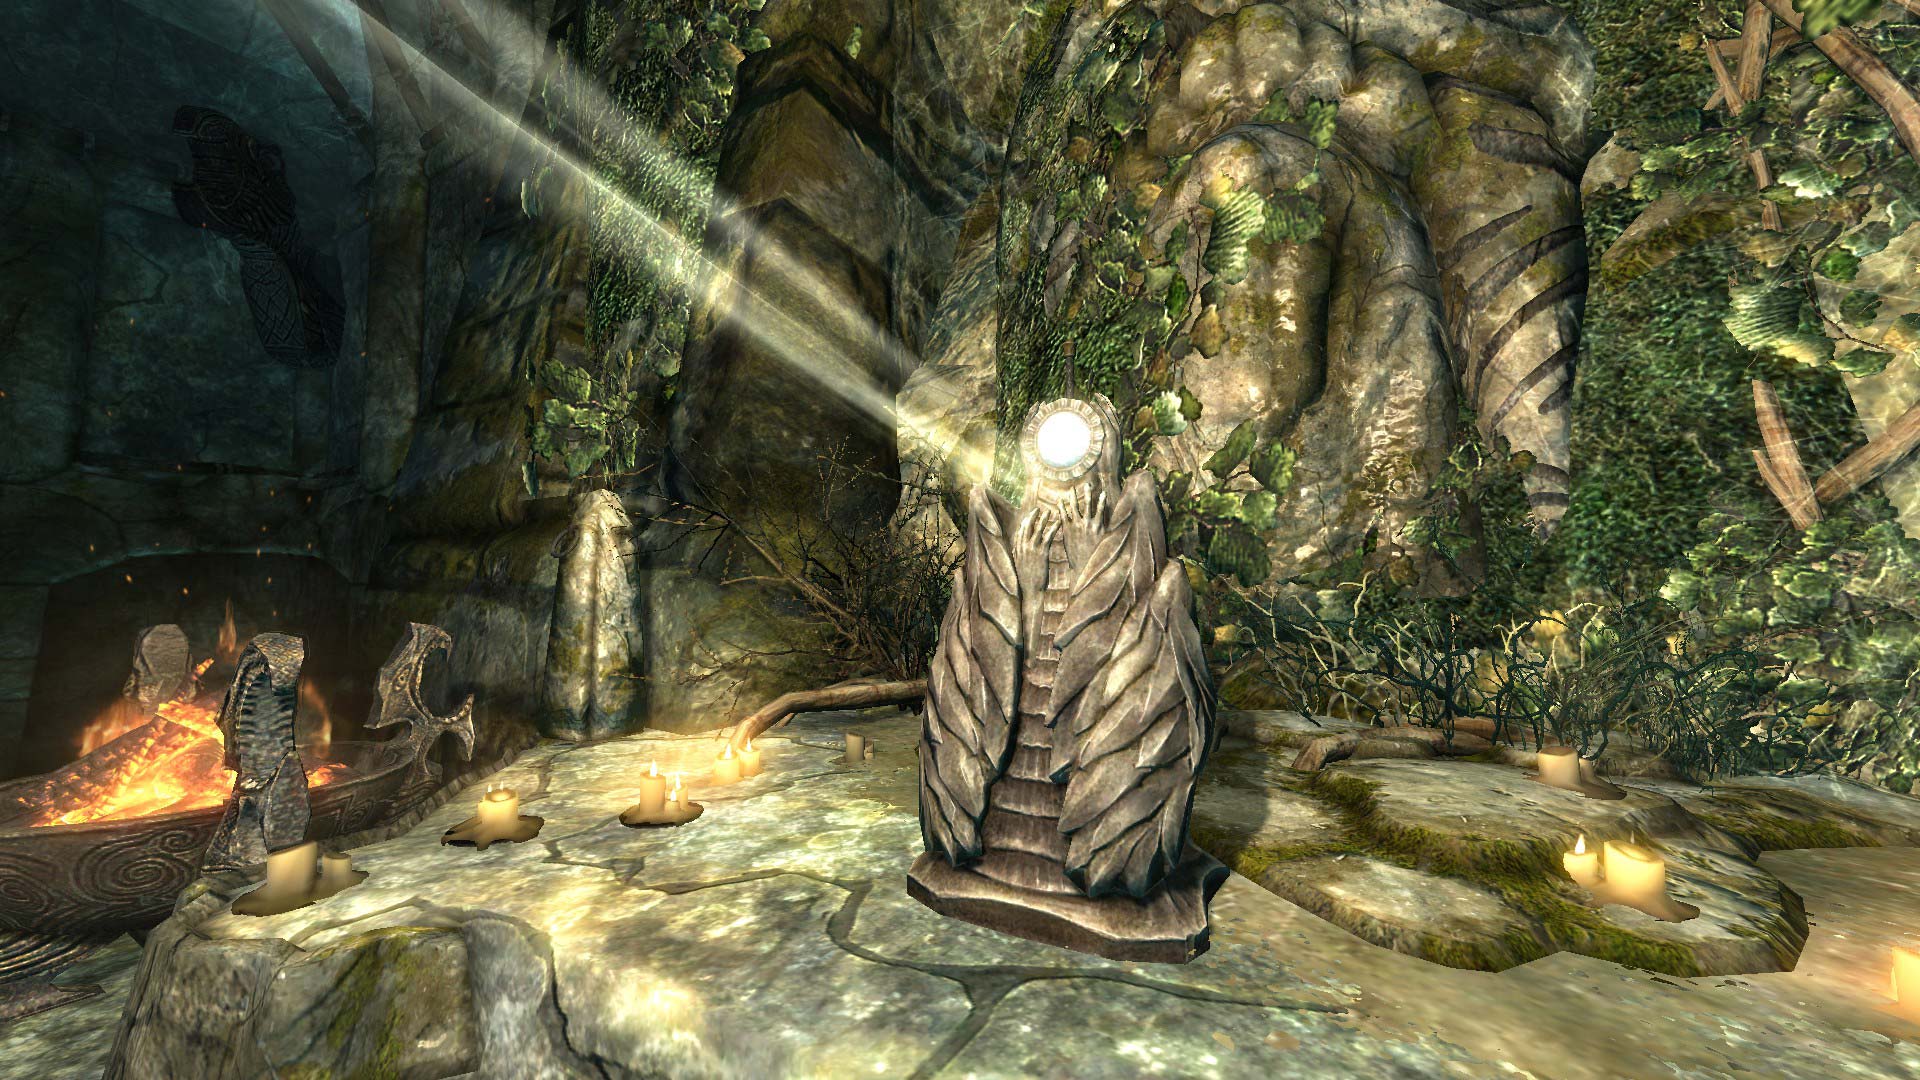
Pedestal that holds the defiled Dawnbreaker
Destroy Malkoran
Once the Dragonborn reaches the bottom of the steps, a quick way to get the upper hand against Malkoran and four Corrupted Shades is by using a bow or beast form to kill Malkoran off first, and to then move back up the steps shooting more off.
When Malkoran and his corrupted followers are finally dead, Meridia tells the Dragonborn to retrieve the Dawnbreaker.
Note that there will not be another chance to come back to this room after retrieving the Dawnbreaker, so it is recommended to loot the room before taking the sword.
Dawnbreaker
Meridia speaks to the Dragonborn after the evil is banished
Objective: Retrieve Dawnbreaker
Once the Dragonborn takes Dawnbreaker, again being careful of the beam, he or she will be whisked back to the heavens for one last conversation and a great view.
Post-quest Activities
Carry Dawnbreaker and wield it for Meridia, whether after telling her to find someone else to spread her religion or if a firm believer.
Bugs
This section contains bugs related to The Break of Dawn. Before adding a bug to this list, consider the following:
Please reload an old save to confirm if the bug is still happening.
If the bug is still occurring, please post the bug report with the appropriate system template 360 / XB1 , PS3 / PS4 , PC / MAC , NX / PS5 , XS , depending on which platform(s) the bug has been encountered on.
Be descriptive when listing the bug and fixes, but avoid having conversations in the description and/or using first-person anecdotes: such discussions belong on the appropriate forum board.
Needs serious condensing. Do any of these bugs still occur? May need to be transferred to talk page
Please improve this article however you can and remove this notice once finished.
Click to show
To avoid this, kill the dragon on top of the Elemental Fury word so there isn't a dragon close by.
PS3 Occasionally Meridia's beacon will spawn in a spider egg sac in the boss chamber instead of in the chest. This is most likely a bug with the radiant quest item locations and will not impede the quest in any significant way (other than being strange lore wise).
More a mistake than a bug: going to the quest screen and looking at the quest description after completing the quest, it will read '...and retrieved the artifact dawnstar...' instead of saying dawnbreaker
PC The beacon may not be in the chest. This could be caused by the fact that it spawned in the final dungeon's chest of the quest Silenced Tongues.
Sometimes, when Meridia talks to you a second time and then drops you back down to the map, the game will count it as a fall, killing you instantly. The cause of this bug is unknown; it doesn't seem to help if you're wearing light clothing either. Since Dragon Shouts cannot be preformed while falling, the Ethereal Shout ability will not help. To avoid this affecting you, save right after killing Malkoran.
Pressing start and bringing up the menu for a certain period of time as you fall will prevent this and will cause you to respawn at the shrine. It is possible to escape this glitch by running towards the water after the conversation with Meridia. Another way to avoid fall damage is to position your character directly over the stone slab on which Meridia's shrine sits. because the pedestal is located underground some distance away from the shrine itself, the player will not be located directly above the shrine. If the player skips through the dialogue delivered by Meridia, they can walk around in mid-air until she finishes speaking, at which point she will drop the player again. For some reason, fall damage sustained from this "drop" is negated should the player land on the stone slab at the base of Meridia's shrine. You can also type "~" mid-drop and enter tgm to go into god mode. Then type tgm again after the fall to remove god mode.
In the PC version, the bug apparently appears when a dragon is nearby the first time Meridia speaks to you. After reloading a save file and killing a dragon circling overhead, the first conversation with Meridia happens normally, with the character safely falling back onto ground. However, the second conversation brings about the same problem. If no fix is discovered, use the console command 'tgm' to make yourself invulnerable and then allow yourself to freefall.
The bug appears to occur when accepting to spread Meridia's word, regardless of the presence of a dragon; stating that you will take the sword but not in her name appears to prevent the bug.
Sometimes upon receiving the quest, the location of the beacon will not appear on your map, making it impossible to find it and continue the quest without the use of the console.
It is possible to obtain two Dawnbreakers. Either cast Firestorm or summon and kill a Flame Atronach behind the statuette that holds Dawnbreaker and the sword may come flying away from the statuette. Picking up this sword does not end the quest. Additional copies of the sword can not be obtained this way. Touching the statuette holding Dawnbreaker after collecting the sword on the floor will end the quest normally with you receiving Dawnbreaker again.
It's possible to gain a second Dawnbreaker as one of the Corrupted Shade MAY pick up the dawnbreaker that is in the pedestal upon being attacked.
In one of the caves, the puzzle stones that you have to turn won't move. This is a bug common to the rotating pedestal puzzles, and it can be easily resolved by saving in place and then loading from the new save. Once the game loads, whether it is from a save or moving to a different area, the glitch is typically resolved.
PS3 It is possible that if, while fighting Malkoran's Shade, a summoned Dremora Lord kills the Shade, the quest will glitch and not update to give you access to Dawnbreaker. To fix this, expel any summoned Daedra and use the Conjuration spell "Dread Zombie" to raise Malkoran; immediately kill him in order to bring back the Shade, which you must kill yourself. If a follower kills him the second time and this bug persists, load a previous save or autosave and part ways with any followers before the reanimation.
360 Sometime, even after you have obtained the quest by going to the Statue of Meridia, a way point will not appear to guide you to the beacon, leaving this quest impossible to complete. Clairvoyance will also not help with this as it will not provide a way. There is no known fix for this bug. HOWEVER the Beacon will still spawn in a random big chest once the quest is accepted. Due to the large number of chests it can spawn in, finding it may still take a very long time.
PS3 The above bug appears to have been fixed with v1.4; when you exit the current area, the quest marker should now appear on the map.
Using Dead Thrall or the Ritual Stone power on Malkoran and killing him may result in another Malkoran's Shade spawning. This process may be used to theory of unlimited farming of Malkoran's Shade for possible coin and training select skills.
PC 360 There is a bug that may prevent you from completing the quest (or making you stuck in the final chamber where you fight Malkoran). Even if you kill the Necromancer and his shade, the target indicator may still be on him; you'll be informed that the quest is completed, but you'll be unable to pull the Dawnbreaker out. The fix is to load the save BEFORE a fight with Malkoran.
360 When fighting Malkoran, his shade will sometimes spawn and not move, nor will it take damage, leaving you permanently fighting him. This typically occurs when you kill him before his followers (i.e. with powerful bowshots before being revealed) To fix this use a destruction spell or a shout that has an element applied to it against him, melee and bow attacks will not work. This bug can also be caused if you're fighting his shade with a weapon that has a "paralyze" enchantment or using the shout "Ice Form". Sometimes when his shade is paralysed it will freeze and can no longer be damaged by physical weapons.
360 While fighting Malkoran, if you behead him, the shade will spawn and leave the area. It will hide behind the door frame and it will be unkillable. It will not attack you either, and you will gain XP for every hit.
360 - Dawnguard: At random times during the extension of the temple, having any follower and Serena with you may randomly cause Serena to attack you and your follower. To stop this from happening, try to save every time you activate a beacon of Meridia. Sheathing your weapon does not make her stop attack.
PS3 Sometimes, when Meridia talks to you a second time and then drops you back down to the map, the game will count it as a fall, killing you instantly. The cause of this bug is unknown; it doesn't seem to help if you're wearing light clothing either. Since Dragon Shouts cannot be preformed while falling, the Ethereal Shout ability will not help. So far no ways have been found to avoid this on the PS3. (date tested 3/31/13) just re-tested I'm not sure if this makes it work every time but try the duplication glitch after I did that I no longer fell to my death. (3/31/13)
360 When placing the beacon at the shrine, if a dragon is attacking and/or in close enough proximity to the player, the dragon may be whisked away into the air as well. While in the air, the dragon is capable of attacking both the player and Meridia (as well as "landing" in the air, as if there were terrain for it to stop on), causing the conversation to break. Because of the nature of the cinematic sequence, once the conversation is broken the player will be able to move about freely in the air, but will be unable to draw their weapons as well as not taking any damage. Meridia will fight the dragon, but will do no damage, leaving the player trapped in an endless battle in the air, unable to fight back and unable to re-initiate contact with Meridia.
Missing Follower{C
If you enter the Kilkreath Temple with a follower they may become indefinitely lost to you once Meridia pulls you back into the sky after acquiring the Dawnbreaker. She takes you out of the temple and into the sky causing your companion to be stuck within the temple itself. Even after revisiting the temple they will not show up. Any carried loot will be lost along with them. There is a way to avoid this. Fight your way through the temple but do not enter the final battle or even the final room with your follower. Instead, turn around and go back to the last "load" door. Instruct your follower to remain there. Fight through the last battle on your own, finish the level as instructed. You'll end up outside by yourself, re-enter the temple and seek out your follower, they should still be waiting for you where you left them. Using voice commands from outside the temple to get your follower to return to you will not work. You need to go in after them. This does not always happen as you companion/follower may actually be running outside of the temple as soon as you have been pulled into the sky by Meridia.
After Meridia drops you at the foot of her statue, to your far left you will see the balcony of her temple. Climb over the rocks and jump down to the balcony. Open the door leading to the Kilkreath Ruins where you fought Malkoran and your companion should be running up to meet you. This is more efficient than waiting and you can fast travel from the balcony so you don't have to backtrack to the front door.
PC A fix on PC only: Go to the unlockable iron door then type "~." Select the iron door with your cursor then type "unlock." This is a console command to unlock any door.
PC Alternatively, enter in the console : "prid #######" to select the follower. For Lydia the code is 000a2c94. Next, enter "moveto player" in the console. Your follower should appear beside you with all the items he/she previously had.
Waiting a few hours works. Your companion has to make their way back through the dungeon on foot and will reappear at the entrance.
Try immediately fast traveling to a town and your companion should appear. PS3- Fast traveling did not work. Parting ways worked. (PS3- Immediately after completing the quest and returning to Meridia's Shrine, fast traveling back to the shrine caused follower to catch up with player).
PS3 360 Before going through the last door have your companion wait and close the doors behind you. The doors will not reopen, so your companion can not charge forward when you are attacked. You will have to go back through the dungeons to get your companion back though.
It can happen that the quest drops you off at Boethiah's shrine after you have spoken to Meridia. You will not be able to go on with the quest anymore after this point.
PC 360 PS3 If all else fails, tell your follower, before removing Dawnbreaker, that it's time to part ways. To be safe, wait 24 hours and then take the sword. After Meridia returns you to the ground, you should be able to find your follower in their default location (i.e. your house, if married) along with all their armor/weapons/loot.
Beacon light doesn't exit the first cave and the door on the balcony remains locked, if this happens just reload a previous save.
If your current follower goes missing after obtaining Dawnbreaker go back towards the area of which you fight Malkoran, you will come across a locked iron door (The area where Malkoran previously was and where Dawnbreaker was obtained) and wait outside the door for three days and your follower should come walking towards the iron door as he/she will leave to travel to where you found them and they will continuously walk towards the door when they do this rapidly press X (PS3) / B (Xbox) / E (PC) or whichever is the button you have set as (Open door) and you will be attempting to speak with your companion and they should just teleport behind you and start conversation (Providing you activated them) and finally ask them to follow you.
Meridia's beacon can spawn in the Dawnstar Sanctuary even if the Dark Brotherhood quest line has been completed, making the chest containing the beacon inaccessible. In turn this forfeits the Oblivion Walker achievement and makes it impossible to obtain all 15 Daedric artifacts.
360 It's possible that your follower(s) will return after waiting two~three days.
PS3 Fast travel to Whiterun and rest/wait 2-3 days for follower to disband. Rest another day for follower to return to Whiterun. All loot remains, had to reset equipment by removing equipable item from follower inventory and giving back. Only tried on Lydia, but may be same for other housecarls.
360 After speaking to Meridia at the conclusion of the quest, a bug may occur where you fall to your death.
360 When Meridia brings you up to the sky for the first time, telling you to kill Malkoran, she won't let you back down, and you cannot fast travel back down.
Be sure your companion follow you at the end of the quest, because it's not possible to go back inside dungeon after the quest is complete. Rock's blocking the way in.
Reference
The Official Game Guide of The Elder Scrolls V: Skyrim by Prima Games.


