EbonySkyrim (talk | contribs) No edit summary |
mNo edit summary |
||
| (31 intermediate revisions by 18 users not shown) | |||
| Line 1: | Line 1: | ||
| + | {{For|the character|Umaril}} |
||
{{KnightsQuests |
{{KnightsQuests |
||
| − | | |
+ | |name = Umaril the Unfeathered |
| − | | |
+ | |image = Umaril the Unfeathered (Quest) Fighting Umaril.png |
| − | | |
+ | |questgiver = [[The Prophet (Knights of the Nine)|The Prophet]] |
| − | | |
+ | |location = [[Garlas Malatar (Oblivion)|Garlas Malatar]] |
| − | | |
+ | |prereq = [[The Blessing of Talos]] |
| ⚫ | |||
| − | | next = |
||
| ⚫ | |||
| ⚫ | |||
| − | | |
+ | |type = [[Quests (Knights of the Nine)|Knights of the Nine Quest line]] |
| + | |QuestID = ND10 |
||
| ⚫ | |||
| + | }} |
||
| − | |||
| − | After receiving |
+ | '''Umaril the Unfeathered''' is a [[Quests (Knights of the Nine)|quest]] available in {{Knights of the Nine}}. After receiving the [[Blessing of Talos (Knights of the Nine)|Blessing of Talos]] and the promoting of Knights, it is time to face [[Umaril the Unfeathered]] at [[Garlas Malatar (Oblivion)|Garlas Malatar]]. [[The Prophet (Knights of the Nine)|The Prophet]] has marked the keep where he is hiding. |
==Walkthrough== |
==Walkthrough== |
||
| + | <div class="diabox"> |
||
| ⚫ | |||
| + | ''"I stand ready, Lord Crusader. Shall we launch our attack on Garlas Malatar?"'' |
||
| ⚫ | |||
| + | :'''Launch the attack.''' ''"Knights of the Nine! Umaril and his Aurorans must be destroyed!"'' |
||
| + | :'''No. Wait for my signal.''' ''"Of course, Commander. We will attack at your command."'' |
||
| + | </div> |
||
| + | |||
| ⚫ | |||
| ⚫ | |||
===Inside Garlas Malatar=== |
===Inside Garlas Malatar=== |
||
| − | In the ruins, follow the knights' lead, they will fight their way deep into the ruins. Once in a while, |
+ | In the ruins, follow the knights' lead, they will fight their way deep into the ruins. Once in a while, the Hero will have to activate a switch in order to clear the path. If at a lower level, the knights should have no problem taking care of the [[Auroran]]s that spawn in every hall. If at a higher level, do not expect anyone to survive far after the first room. |
| − | [[File: |
+ | [[File:Umaril the Unfeathered (Quest) InnerOrb Room.png|thumb|200px|The Knights fighting the Aurorans.]] |
| − | Soon |
+ | Soon, there will be a big hall with a lowered staircase. The orb that needs to be destroyed is on a remote pedestal. The Knights will not go further; they will keep on fighting the Aurorans that will continue to spawn indefinitely until the orb is destroyed. |
| − | To do so, turn around the main structure on the right side. |
+ | To do so, turn around the main structure on the right side. There will be another small staircase leading to the orb, guarded by a few Aurorans. Kill them, run to the orb and activate it. Continue to Umaril's location. |
===Alternative way=== |
===Alternative way=== |
||
| − | + | The Hero should be able to sneak-run past the Aurorans. The knights will still fight the Aurorans, just push the button in the first room and sneak to the exit as fast as possible. In the next area destroy the orb and continue to Umaril's location. The two final Aurorans will follow the Hero even if they cannot be seen, but they will not attack in that case, and will disappear once Umaril is reached. The fight with Umaril cannot be avoided. |
|
===Fighting Umaril=== |
===Fighting Umaril=== |
||
| − | [[ |
+ | [[File:Umaril.png|thumb|154px|Umaril attacking.]] |
| − | From that moment the Aurorans and |
+ | From that moment the Aurorans and the Hero's Knights will disappear and they will be left to fight Umaril on their own. |
| − | + | Umaril appears on top of the stairs. Kill him, then use the spell the [[Blessing of Talos (Knights of the Nine)|Blessing of Talos]] to gain access to his daedric plane. This is in fact the clouds over the [[Imperial City]] and Umaril's tactics have not changed. Defeat Umaril again. There is nothing to loot from his corpse, [[Umaril's Sword]] can be caught as it falls down to earth with them. |
|
==Back at the priory== |
==Back at the priory== |
||
| − | [[File: |
+ | [[File:Umaril the Unfeathered (Quest) Back at The Priory.png|thumb|200px|Back at the priory after killing Umaril.]] |
The Hero will wake up again at the Priory and the Ghosts of the Knights are waiting with [[Sir Amiel Lannus|Sir Amiel]] who will say a few words in gratitude before they disappear. |
The Hero will wake up again at the Priory and the Ghosts of the Knights are waiting with [[Sir Amiel Lannus|Sir Amiel]] who will say a few words in gratitude before they disappear. |
||
| + | After the ghosts have left, [[Sir Thedret]] will run into the undercroft to investigate the voices. He will explain that after the battle they entered the last room and found both the Knight commander and Umaril dead on the ground. After seeing the Commander dead, the surviving knights decided to keep the death a secret to prevent any threats from taking advantage of this moment. After being told Umaril is dead in both body and spirit, he will lead the way outside to inform the other Knights. |
||
| − | Sir Thedret who somehow survived much longer than the other knights waits for them outside the room and says he is overjoyed to see them. He thought they had died and now it's time to let the other Knights know of the victory. |
||
| + | When outside, Thedret will tell the knight the good news, that Umaril is dead and the [[Nine Divines]] have restored the Commander to life. After this, the Knights will all return to their duties, unless asked to join the Commander. |
||
| − | When they head outside, they'll discover that all the Knights cheer them on as their new champion. They'll now be able to take along one knight with them on their journey. |
||
==Journal entries== |
==Journal entries== |
||
| − | {| |
+ | {| class="knqtable" |
| − | ! |
+ | !Journal Entry |
|- |
|- |
||
| |
| |
||
| Line 68: | Line 75: | ||
==Trivia== |
==Trivia== |
||
| − | *It is recommended that be careful when fighting the Aurorans, as one can accidentally kill some of the knights, making one unable to wear the Crusaders Relics. The only way to fix this is to either go back to the nearest save and try again, or, for PC users, open the console and reset |
+ | *It is recommended that be careful when fighting the Aurorans, as one can accidentally kill some of the knights, making one unable to wear the Crusaders Relics. The only way to fix this is to either go back to the nearest save and try again, or, for PC users, open the console and reset their infamy. |
| − | *Note that the [[Sword of the Crusader]] has only 62 uses and the [[Mace of the Crusader]] has 41 uses, so bring other weapons for backup as well. Also note that if any Knights die, they will be replaced by a generic "Knight of the Nine", so they may find it somewhat satisfying to go through killing all the Aurorans and Umaril by |
+ | *Note that the [[Sword of the Crusader]] has only 62 uses and the [[Mace of the Crusader]] has 41 uses, so bring other weapons for backup as well. Also note that if any Knights die, they will be replaced by a generic "Knight of the Nine", so they may find it somewhat satisfying to go through killing all the Aurorans and Umaril by themselves. |
| + | *The Hero can simply run through the maze and activate the orb, then continue running to finish the quest without losing any of the knights. |
||
| − | * |
+ | *The Hero can return to Garlas Malatar, still protected by Aurorans, and find Umaril's slain body. Interestingly, if one were unable to obtain his sword from his spiritual form, one can pick up the same sword here if one had not already. It is possible to acquire two of Umaril's Swords (one from the first battle, the other from the second) if desired. Note that they are exactly the same weapon. |
*Umaril's sword can be duplicated with the scroll method. |
*Umaril's sword can be duplicated with the scroll method. |
||
| + | *If any of the Knights are killed, either in this battle or any after, they will be replaced by a generic [[Knight of the Nine]]. |
||
| + | **Those who do die will be spoken of in passing by surviving members who knew them in life, who will sometimes speak to others about them still mourning their loss. |
||
{{KnightsQuestNav}} |
{{KnightsQuestNav}} |
||
| + | |||
| − | [[Category:Knights of the Nine: Quests]] |
||
| + | <!--Interwiki links--> |
||
| + | [[be:Умарыл Неапераны (квэст)]] |
||
| + | [[ru:Умарил Неоперённый (квест)]] |
||
Revision as of 00:39, 22 August 2018
- For the character, see Umaril.
Umaril the Unfeathered is a quest available in The Elder Scrolls IV: Knights of the Nine. After receiving the Blessing of Talos and the promoting of Knights, it is time to face Umaril the Unfeathered at Garlas Malatar. The Prophet has marked the keep where he is hiding.
Walkthrough
"I stand ready, Lord Crusader. Shall we launch our attack on Garlas Malatar?"
- Launch the attack. "Knights of the Nine! Umaril and his Aurorans must be destroyed!"
- No. Wait for my signal. "Of course, Commander. We will attack at your command."
Head to the ruins and find the knights, waiting for the Hero's arrival, ready to fight. Prepare for the fight, then launch the attack by talking to any of the men waiting. The knights will then proceed to the ruin and start fighting as soon as they are inside.
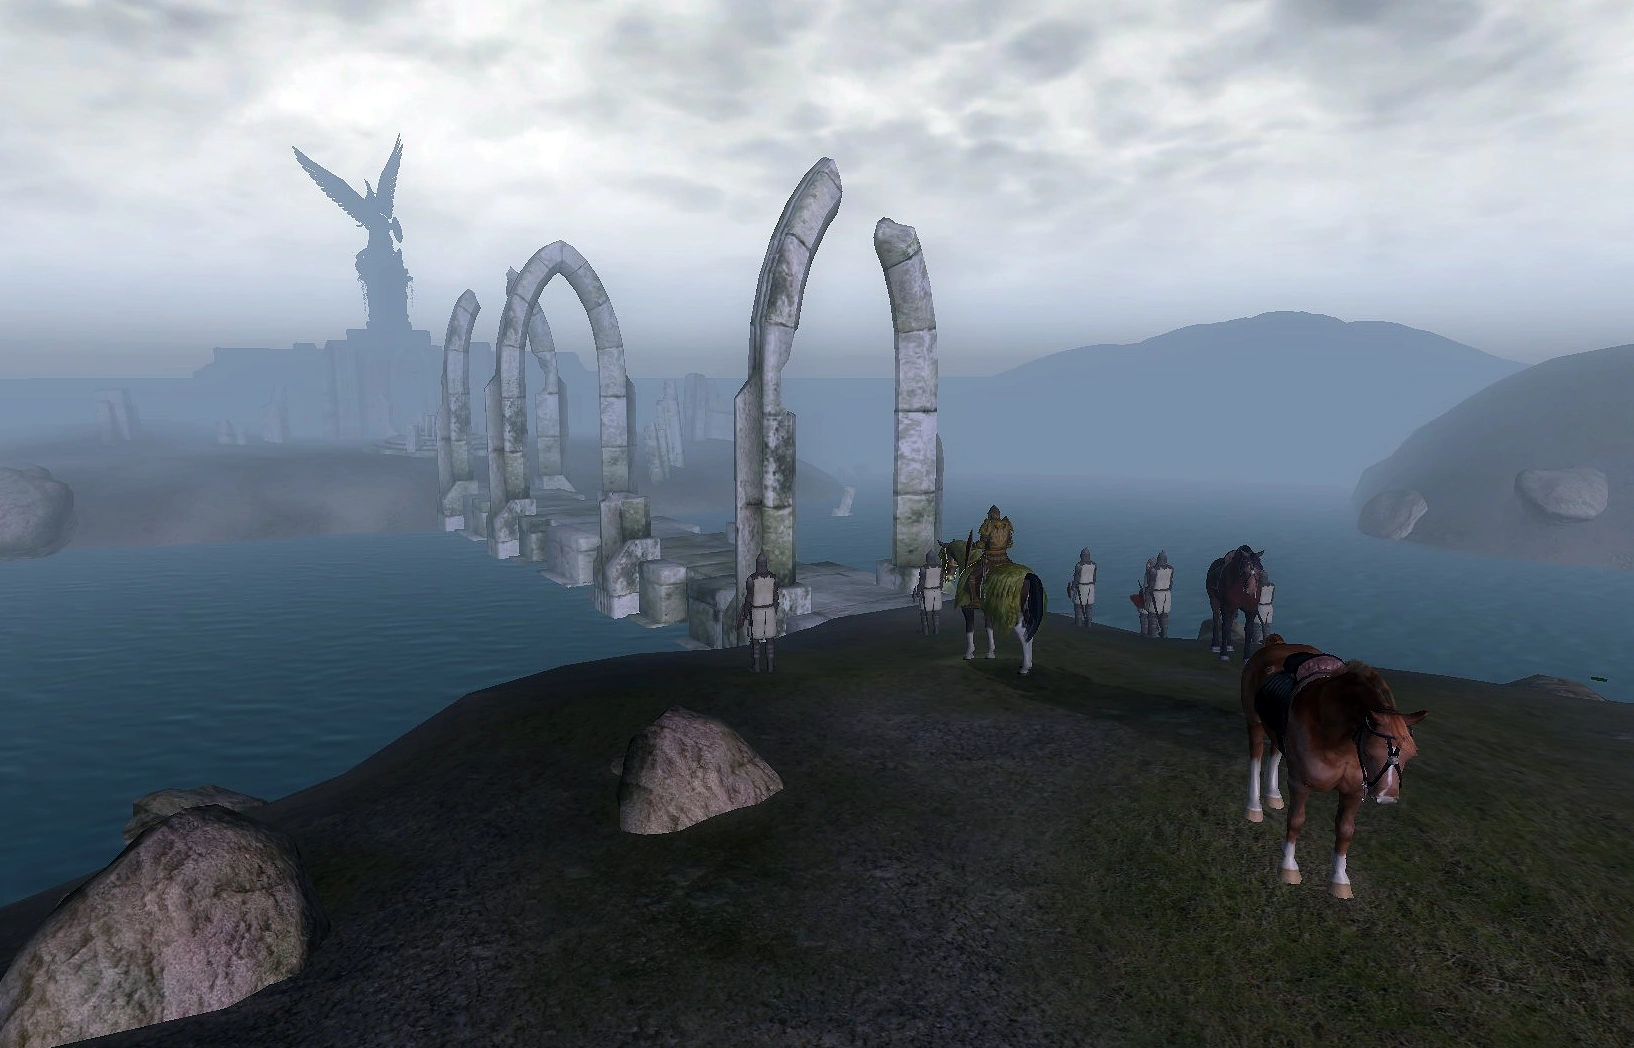
_Garlas_Malatar.png)
Knights are waiting at Garlas Malatar.
Inside Garlas Malatar
In the ruins, follow the knights' lead, they will fight their way deep into the ruins. Once in a while, the Hero will have to activate a switch in order to clear the path. If at a lower level, the knights should have no problem taking care of the Aurorans that spawn in every hall. If at a higher level, do not expect anyone to survive far after the first room.
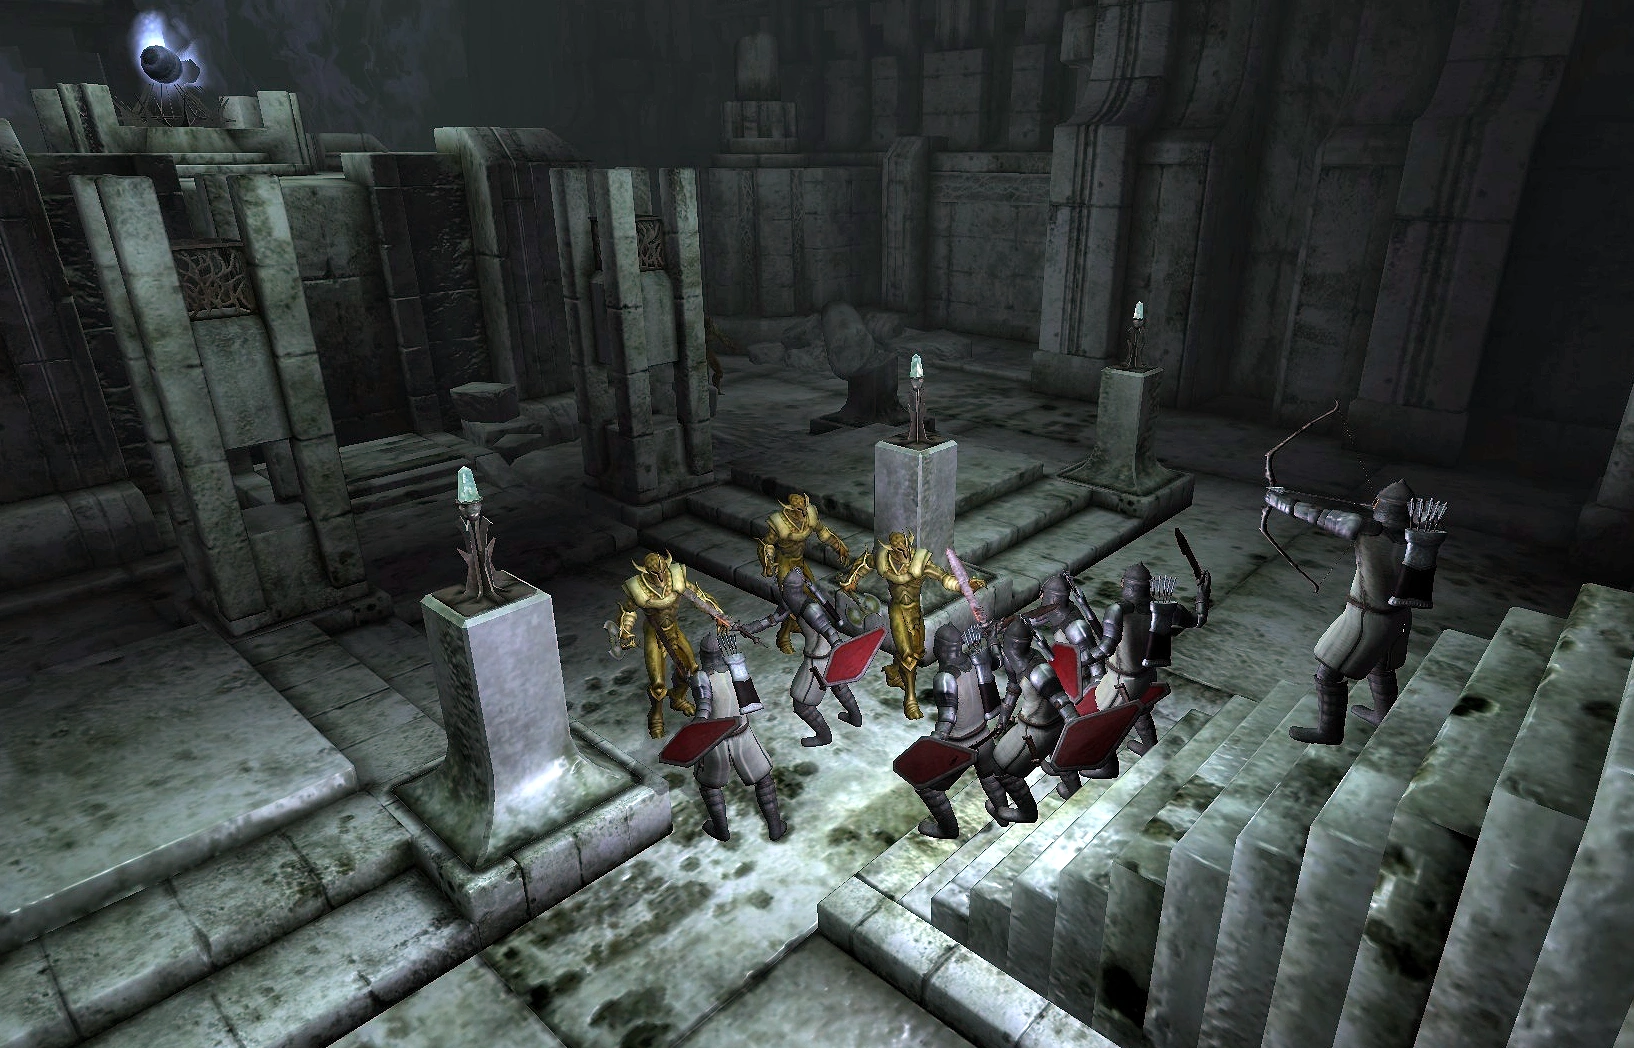

_InnerOrb_Room.png)
The Knights fighting the Aurorans.
Soon, there will be a big hall with a lowered staircase. The orb that needs to be destroyed is on a remote pedestal. The Knights will not go further; they will keep on fighting the Aurorans that will continue to spawn indefinitely until the orb is destroyed.
To do so, turn around the main structure on the right side. There will be another small staircase leading to the orb, guarded by a few Aurorans. Kill them, run to the orb and activate it. Continue to Umaril's location.
Alternative way
The Hero should be able to sneak-run past the Aurorans. The knights will still fight the Aurorans, just push the button in the first room and sneak to the exit as fast as possible. In the next area destroy the orb and continue to Umaril's location. The two final Aurorans will follow the Hero even if they cannot be seen, but they will not attack in that case, and will disappear once Umaril is reached. The fight with Umaril cannot be avoided.
Fighting Umaril

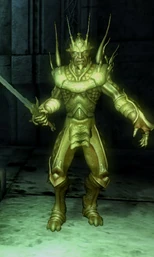
Umaril attacking.
From that moment the Aurorans and the Hero's Knights will disappear and they will be left to fight Umaril on their own.
Umaril appears on top of the stairs. Kill him, then use the spell the Blessing of Talos to gain access to his daedric plane. This is in fact the clouds over the Imperial City and Umaril's tactics have not changed. Defeat Umaril again. There is nothing to loot from his corpse, Umaril's Sword can be caught as it falls down to earth with them.
Back at the priory
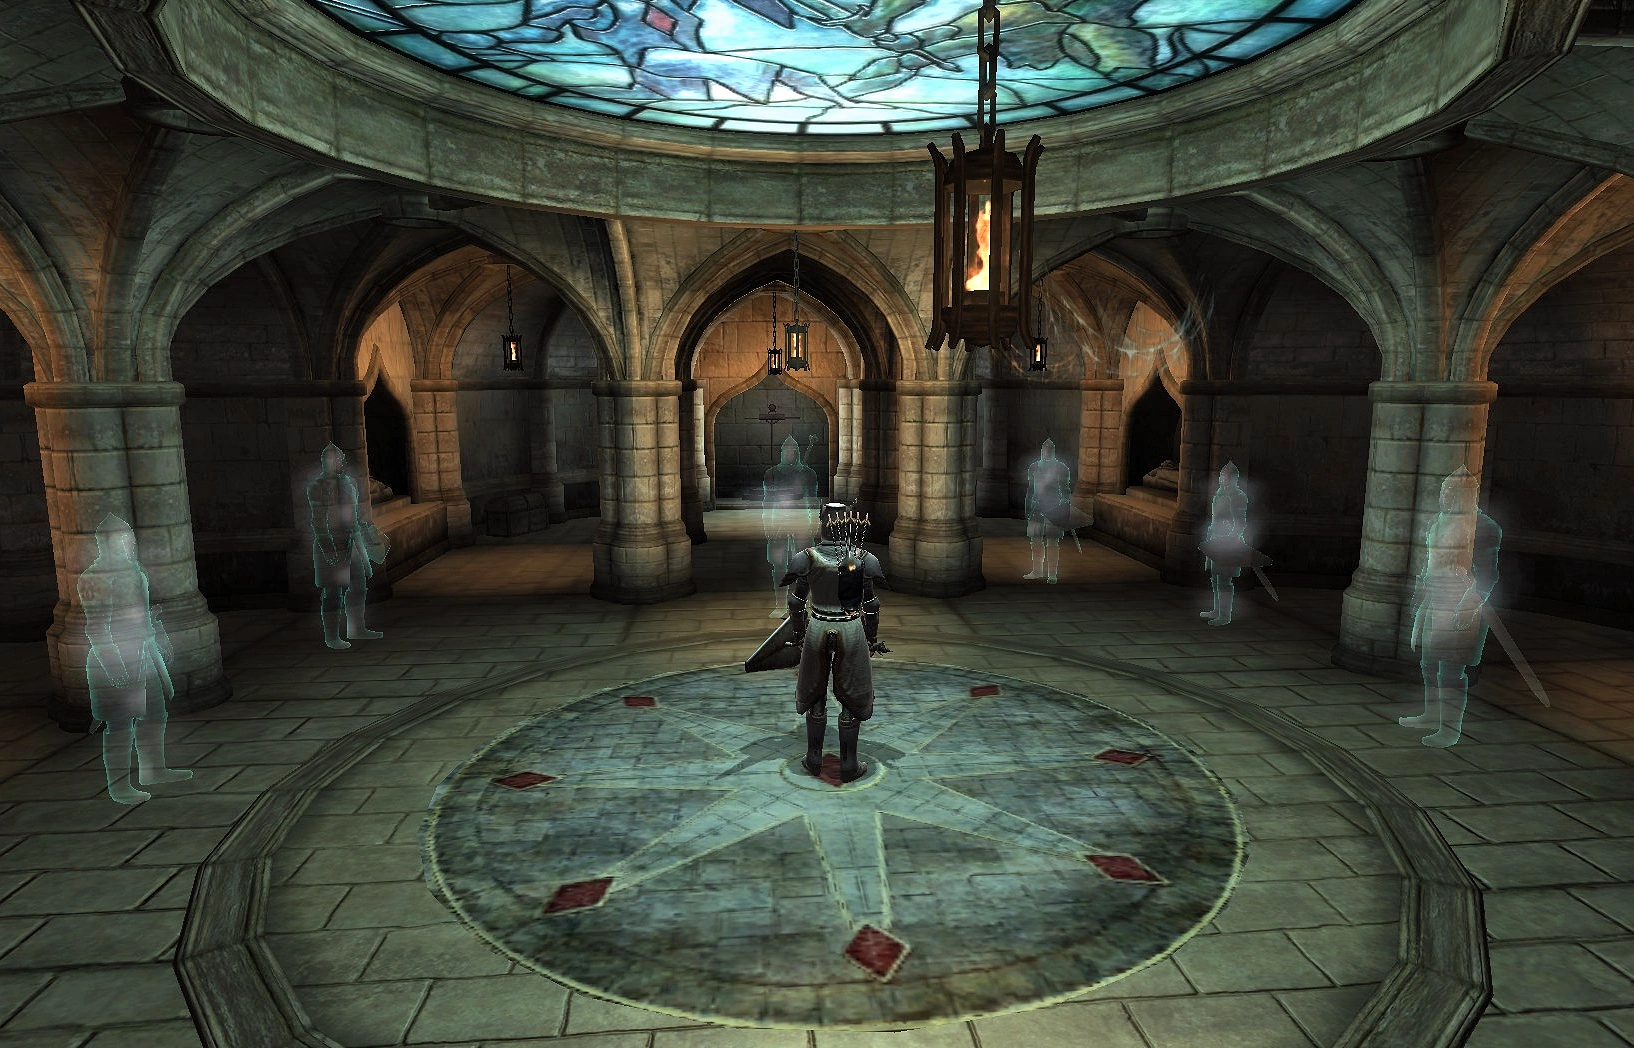

_Back_at_The_Priory.png)
Back at the priory after killing Umaril.
The Hero will wake up again at the Priory and the Ghosts of the Knights are waiting with Sir Amiel who will say a few words in gratitude before they disappear.
After the ghosts have left, Sir Thedret will run into the undercroft to investigate the voices. He will explain that after the battle they entered the last room and found both the Knight commander and Umaril dead on the ground. After seeing the Commander dead, the surviving knights decided to keep the death a secret to prevent any threats from taking advantage of this moment. After being told Umaril is dead in both body and spirit, he will lead the way outside to inform the other Knights.
When outside, Thedret will tell the knight the good news, that Umaril is dead and the Nine Divines have restored the Commander to life. After this, the Knights will all return to their duties, unless asked to join the Commander.
Journal entries
| Journal Entry |
|---|
I've been granted the Blessing of Talos by the Prophet. I am now ready to destroy Umaril. My knights are on their way to Garlas Malatar to prepare for our final assault on his fortress. |
I have arrived at Garlas Malatar. My sworn foe Umaril the Unfeathered awaits me inside. The final duty in my holy quest is to find him, and destroy him. |
I've ordered my Knights to attack Umaril and his Aurorans at Garlas Malatar. We must destroy Umaril once and for all. |
I have destroyed Umaril's physical form. If the Prophet told me true, I must cast the Blessing of Talos on myself and I will follow Umaril's spirit to a place where he can be killed. |
Umaril is utterly destroyed. I have completed my holy quest.
|
Trivia
- It is recommended that be careful when fighting the Aurorans, as one can accidentally kill some of the knights, making one unable to wear the Crusaders Relics. The only way to fix this is to either go back to the nearest save and try again, or, for PC users, open the console and reset their infamy.
- Note that the Sword of the Crusader has only 62 uses and the Mace of the Crusader has 41 uses, so bring other weapons for backup as well. Also note that if any Knights die, they will be replaced by a generic "Knight of the Nine", so they may find it somewhat satisfying to go through killing all the Aurorans and Umaril by themselves.
- The Hero can simply run through the maze and activate the orb, then continue running to finish the quest without losing any of the knights.
- The Hero can return to Garlas Malatar, still protected by Aurorans, and find Umaril's slain body. Interestingly, if one were unable to obtain his sword from his spiritual form, one can pick up the same sword here if one had not already. It is possible to acquire two of Umaril's Swords (one from the first battle, the other from the second) if desired. Note that they are exactly the same weapon.
- Umaril's sword can be duplicated with the scroll method.
- If any of the Knights are killed, either in this battle or any after, they will be replaced by a generic Knight of the Nine.
- Those who do die will be spoken of in passing by surviving members who knew them in life, who will sometimes speak to others about them still mourning their loss.